Officine Bitcoin
Lezioni online Bitcoin-only
This project is maintained by valerio-vaccaro
Officine Bitcoin Bitcoin-only lesson This project is maintained by valerio-vaccaro
🌍 Translations
🇨🇳 中文 🇬🇧 English 🇪🇸 Español 🇵🇹 Português 🇷🇺 Русский 🇫🇷 Français 🇩🇪 Deutsch 🇮🇹 Italiano 🇭🇺 Magyar 🏳️ Milanés 🏳️ Veneto
Jade with Electrum Wallet
After initializing Jade, you can start using it and, to do so, you need to choose a viewing wallet.
Jade is a device that can be used with several wallets, or companion apps as Blockstream calls them on its website.
This tutorial shows the steps for using it, via USB, with Electrum Wallet.
Take the initialized Jade. As soon as it is turned on, it looks like this:
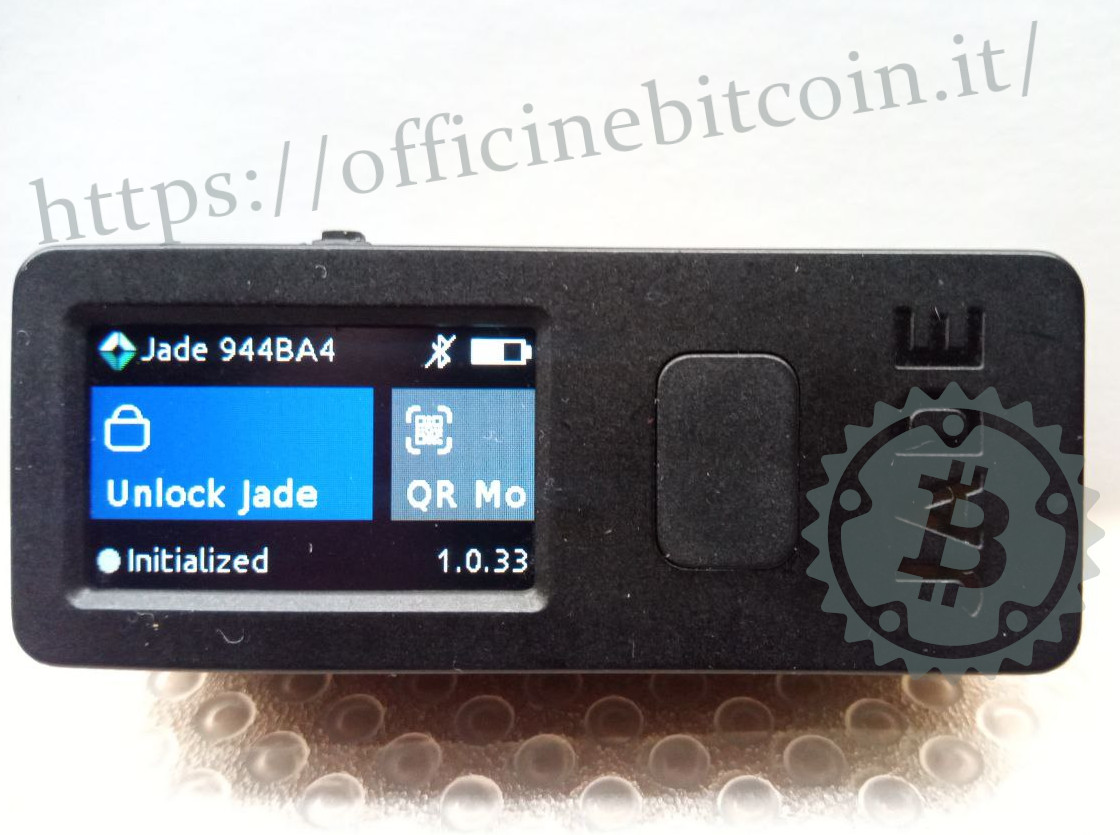
Selecting Unlock Jade opens the menu where you must choose how to connect the device to the companion app.
With Electrum, Jade can only be connected via USB, so that option must be chosen.
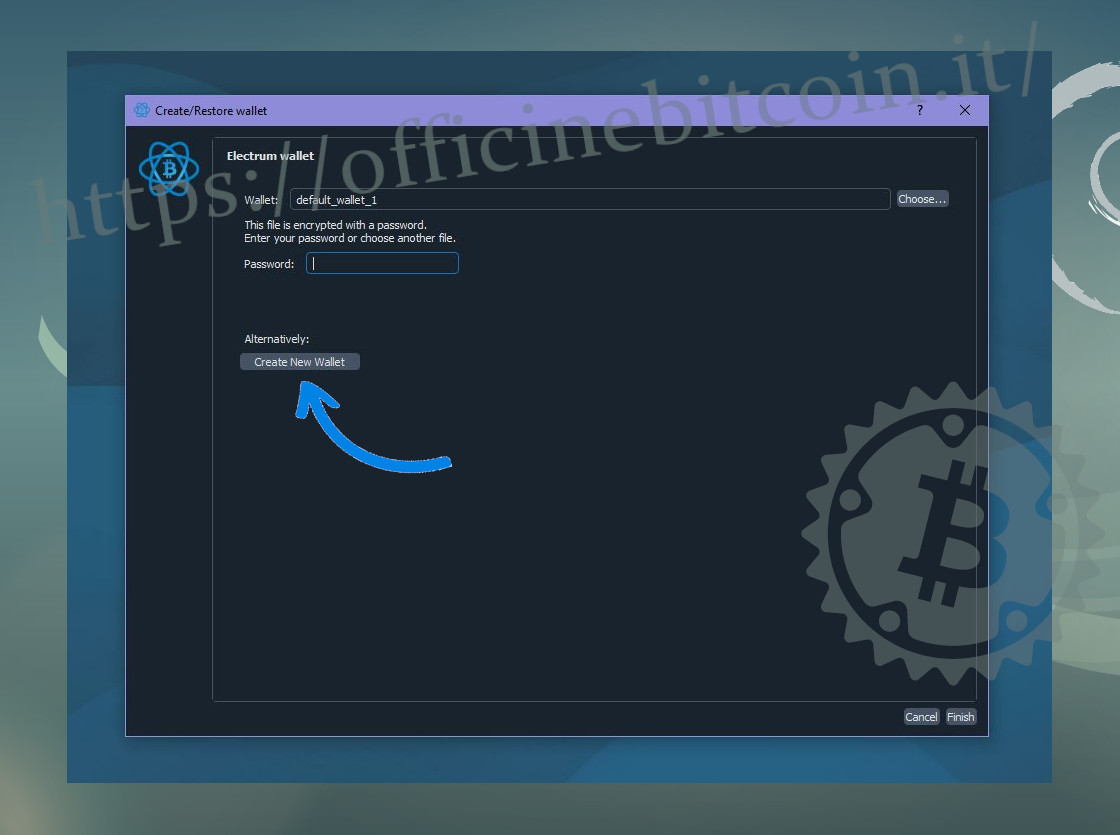
Launch Electrum, which will open with the default option of opening the last wallet used.
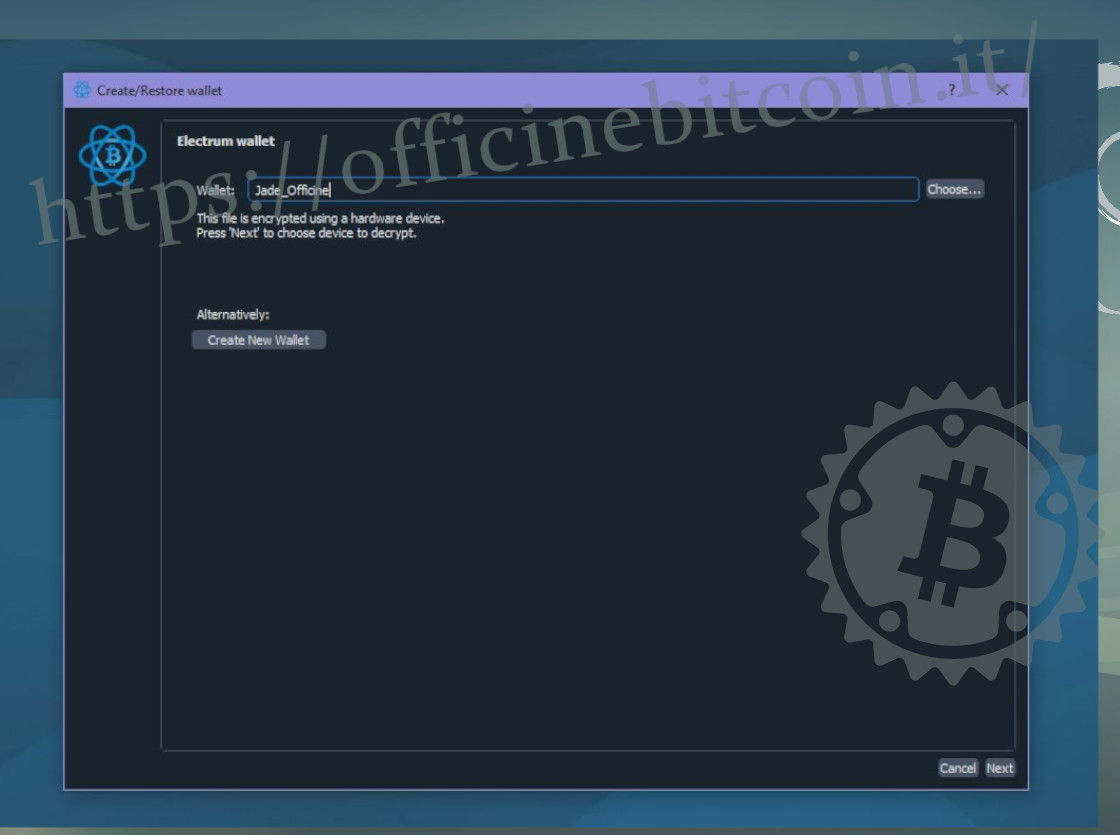
If this is the first time you connect Jade to Electrum, select Create New Wallet and then Finish.
Give the wallet a name, for example Jade_Officine.
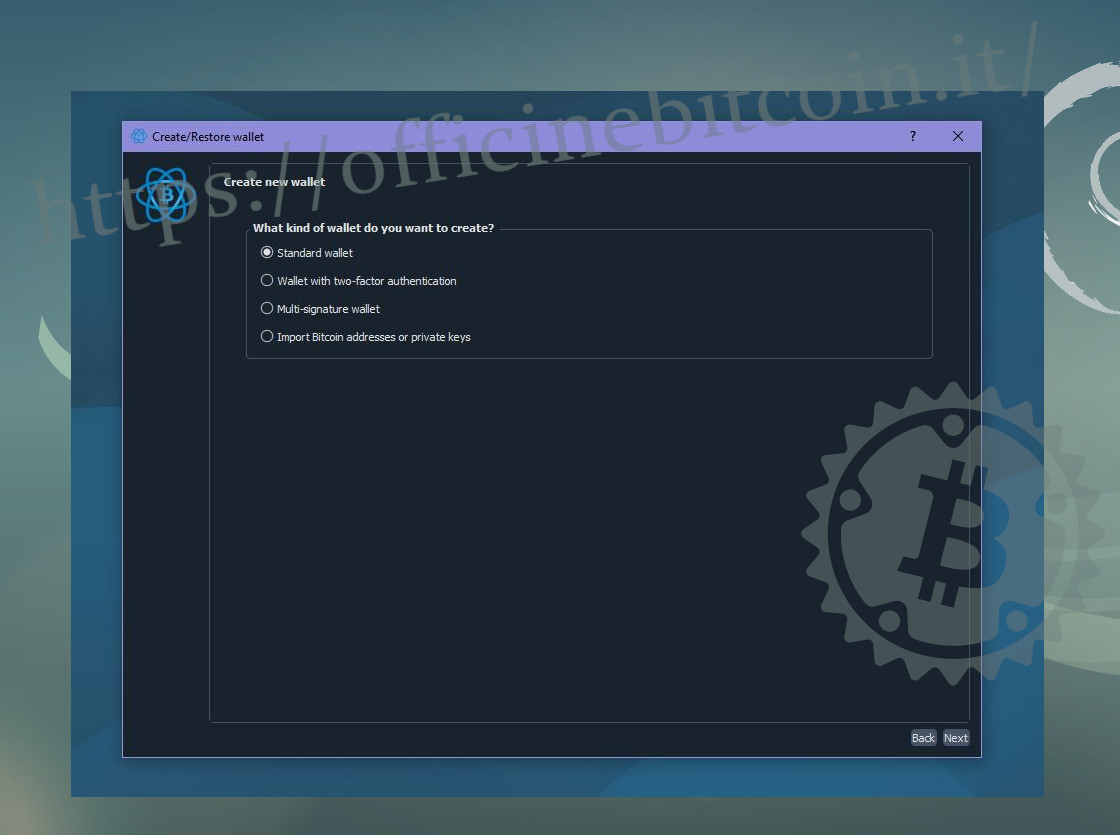
Select Standard Wallet
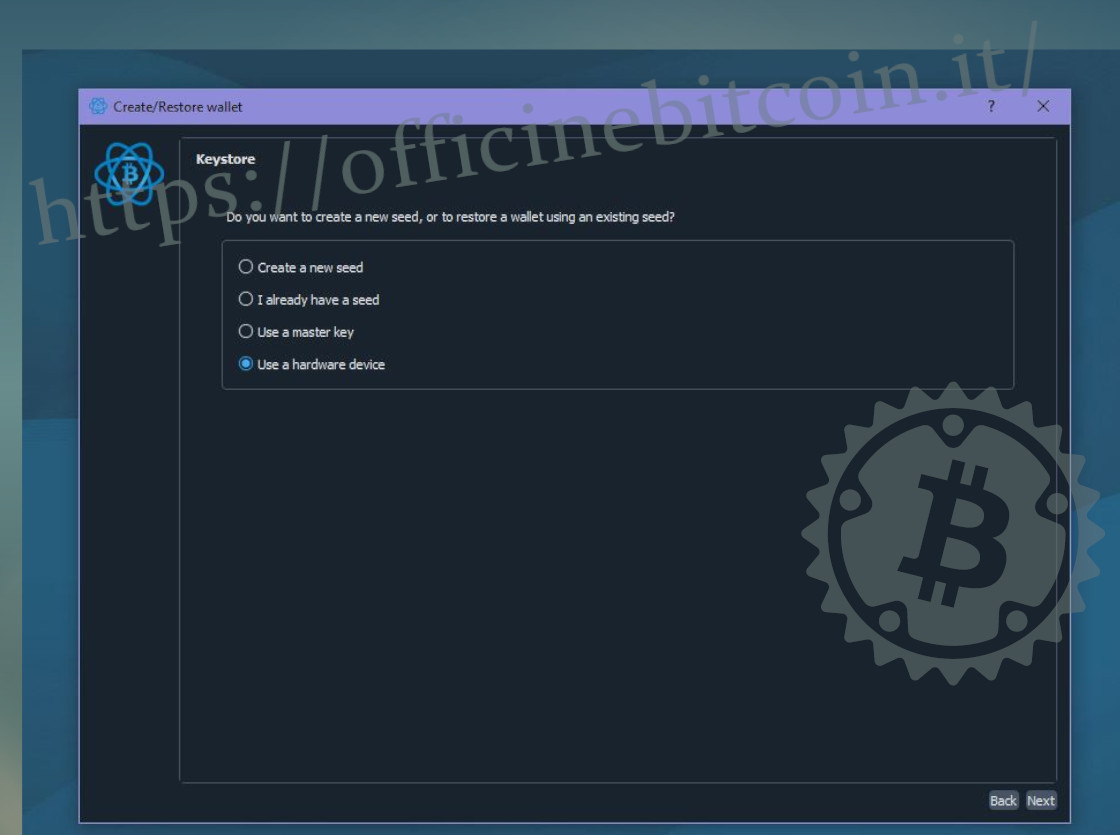
When choosing the keystore, it is essential to select Use a hardware device.
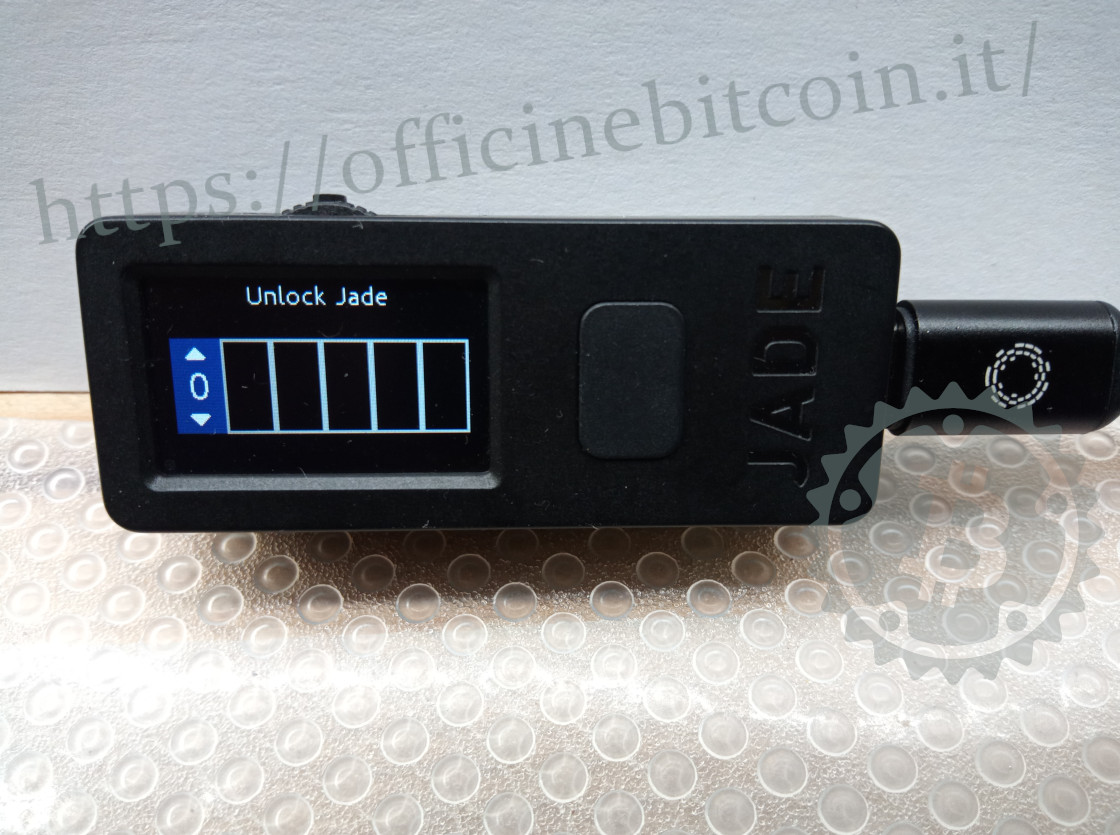
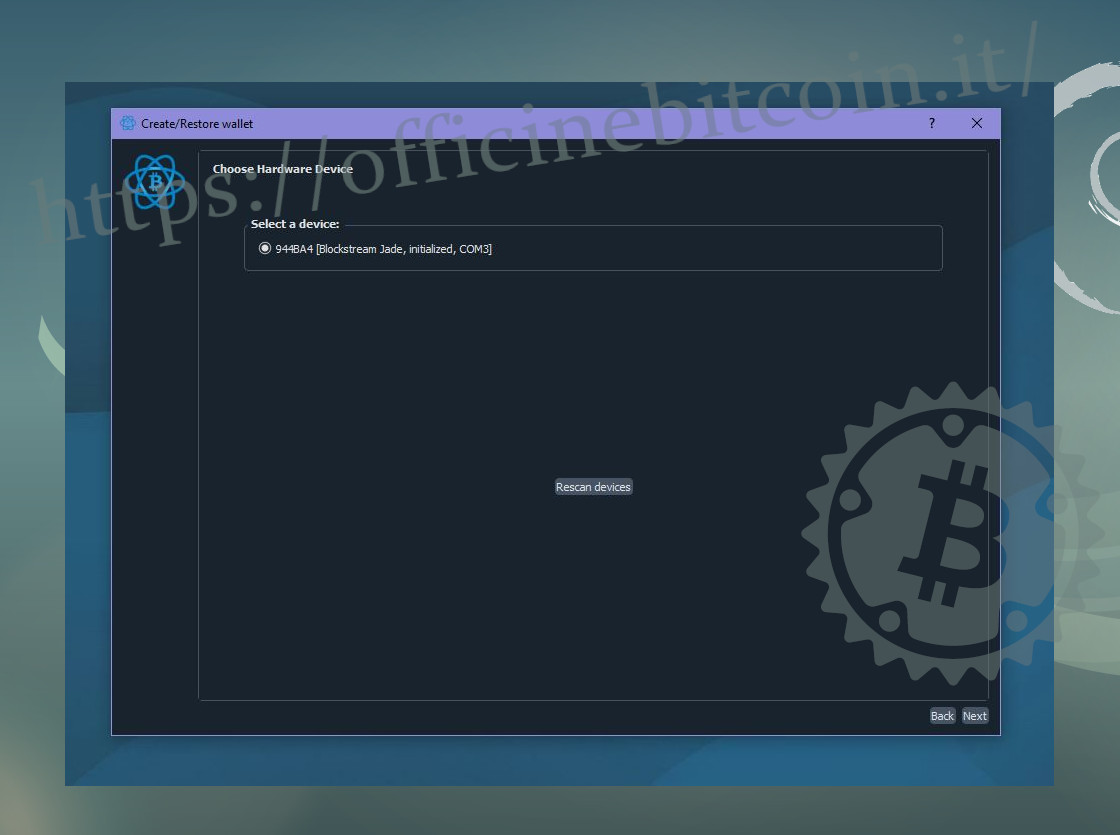
Electrum starts scanning for the hardware device

By connecting the USB to the PC (already connected on the USB C side to Jade), the hardware wallet shows the lock screen. Jade is unlocked by entering the six-digit PIN set during setup
Once the hardware device is unlocked, Electrum detects Jade. Continue by clicking Next.
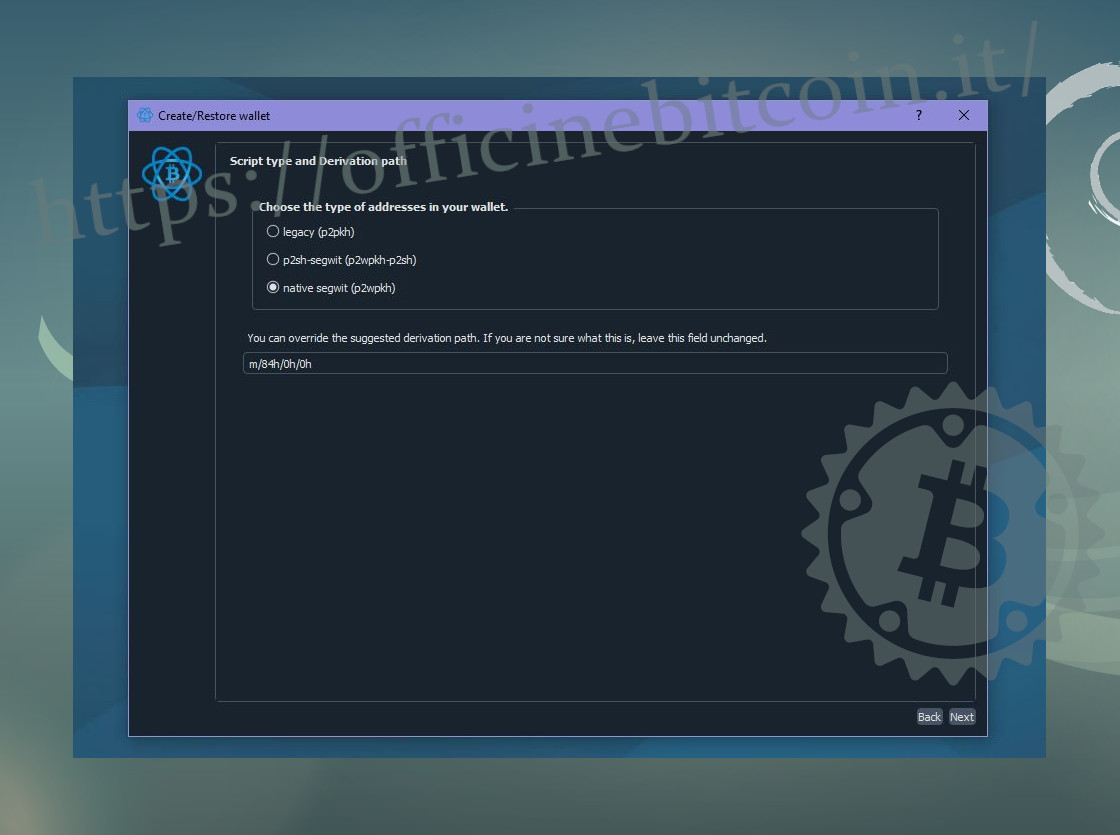
At this point Electrum asks you to set the script policy; choose Native Segwit.
The transfer of the public key from the wallet on Jade to the Electrum viewing wallet begins.
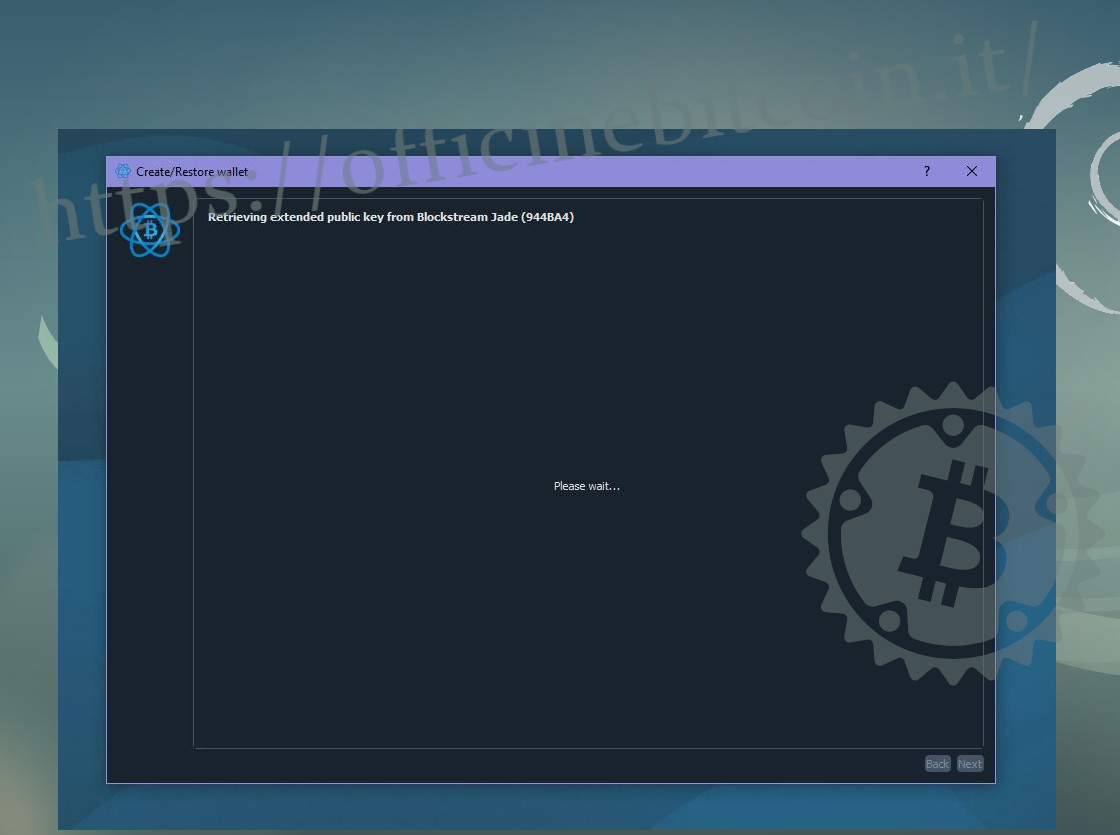
At the end of the public key export, the procedure is complete.
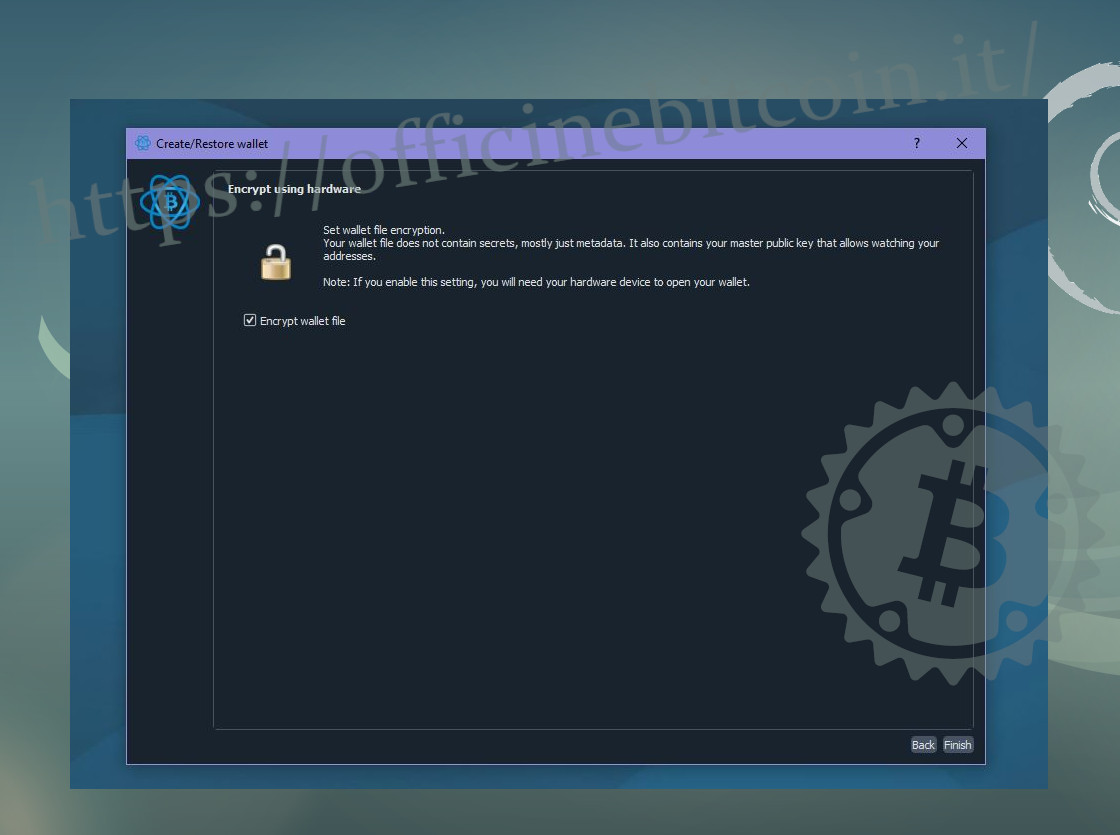
The watch-only wallet is ready, and Electrum notifies you that completion was successful with the following screen.
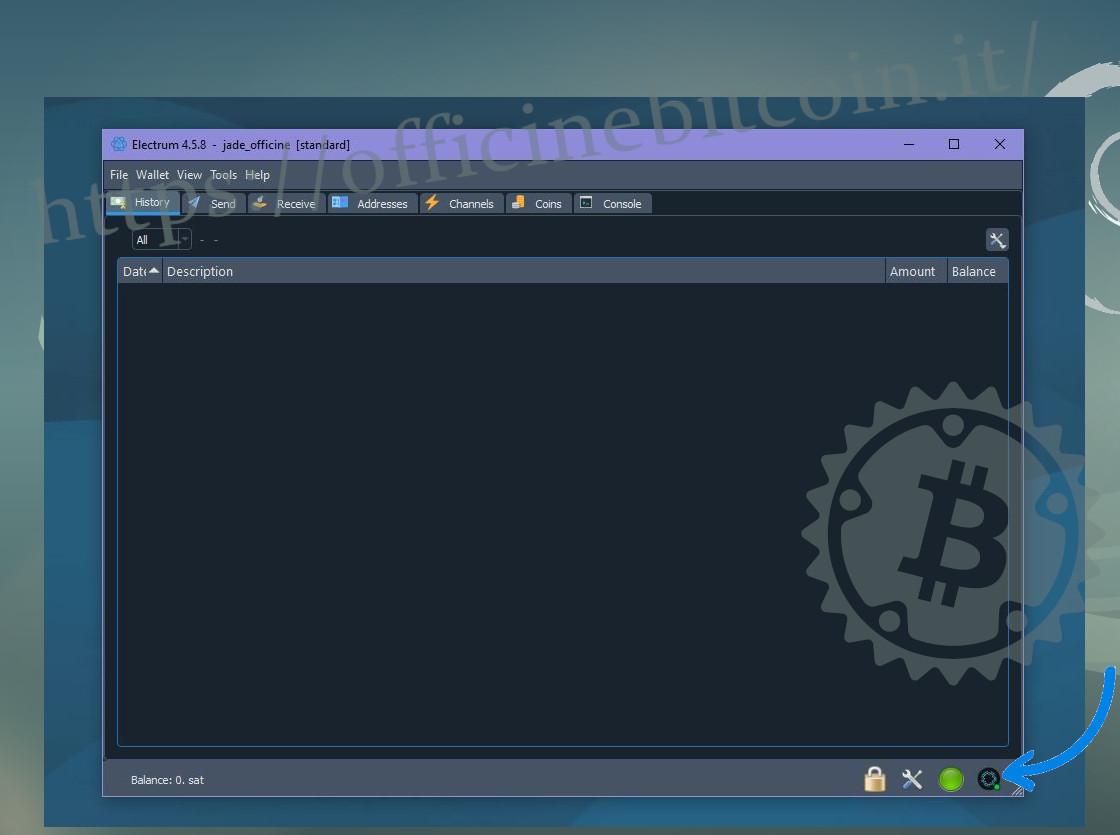
The wallet has actually been created and you can start exploring it: you can see the addresses, the wallet information and, most importantly, at the bottom right you can notice the indication that it is a wallet created from Blockstream Jade. The green dot next to the Blockstream logo indicates that the device is powered on and connected correctly.
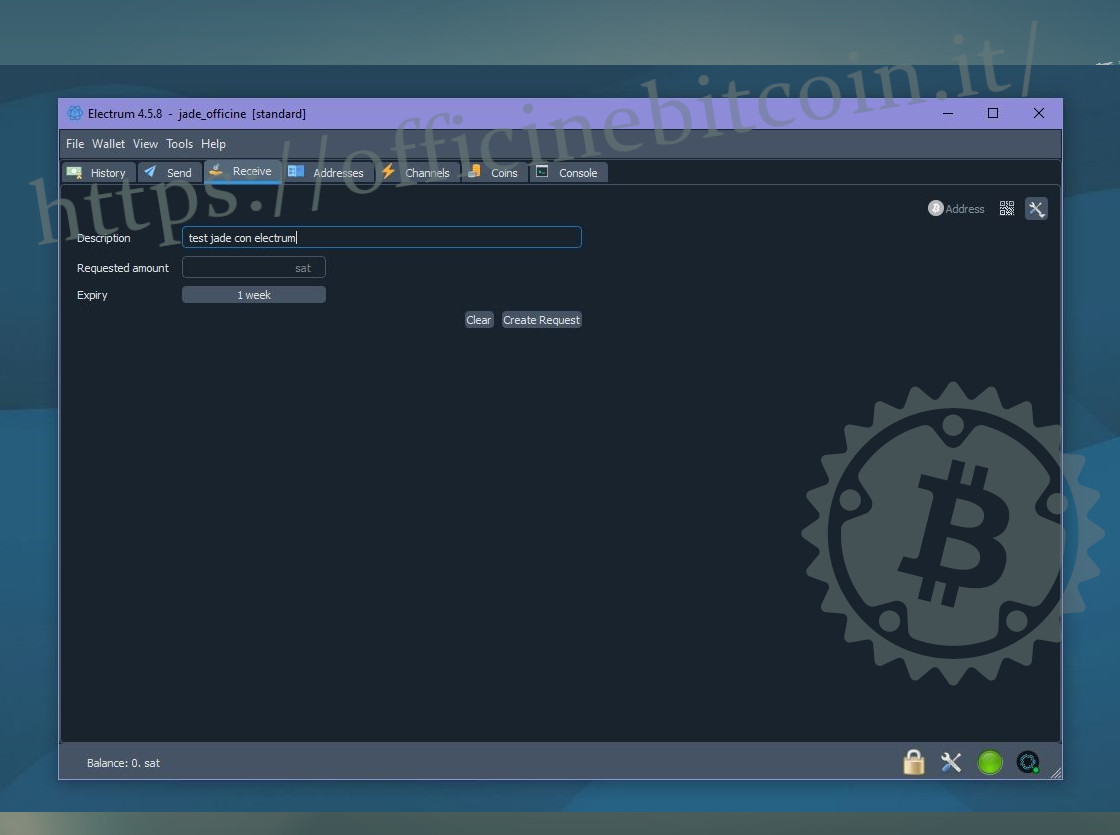
Receiving and spending transactions
From Electrum’s Receive menu, generate a scriptPubKey (address) to receive funds. Always start with a small amount and run a receiving+spending test.
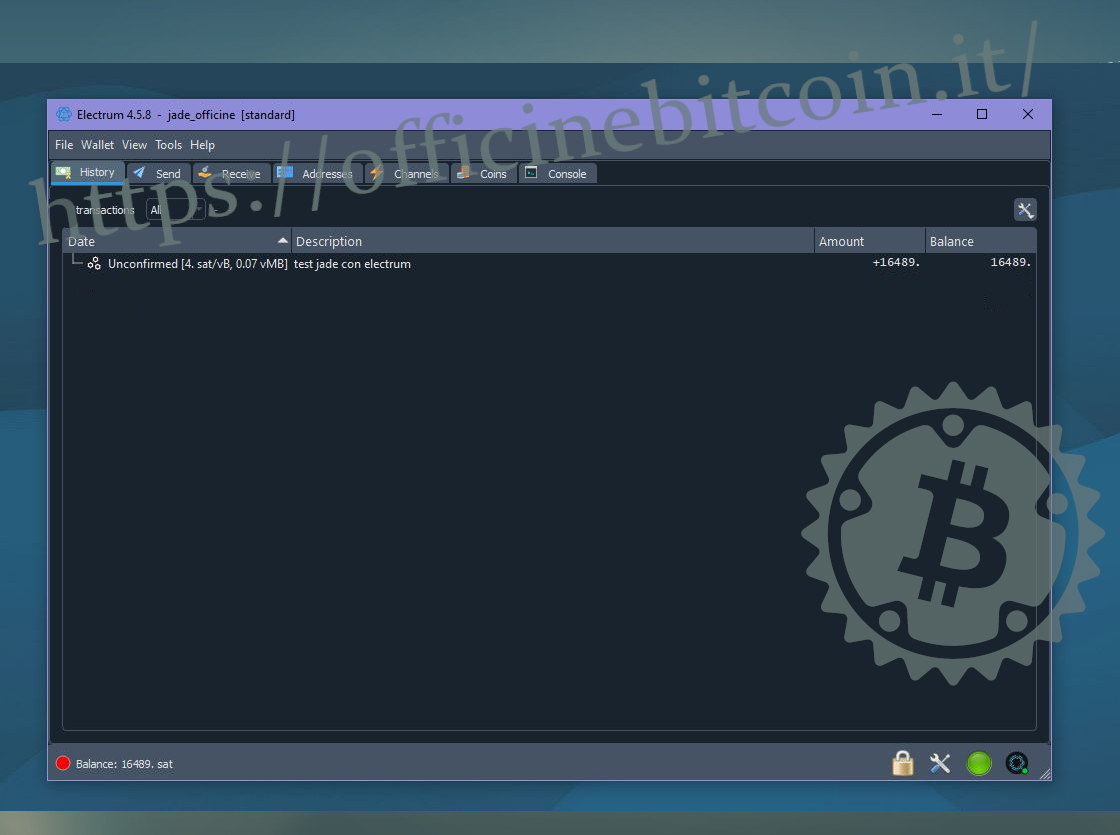
Once the sats have been received, their arrival can be checked in the History menu.
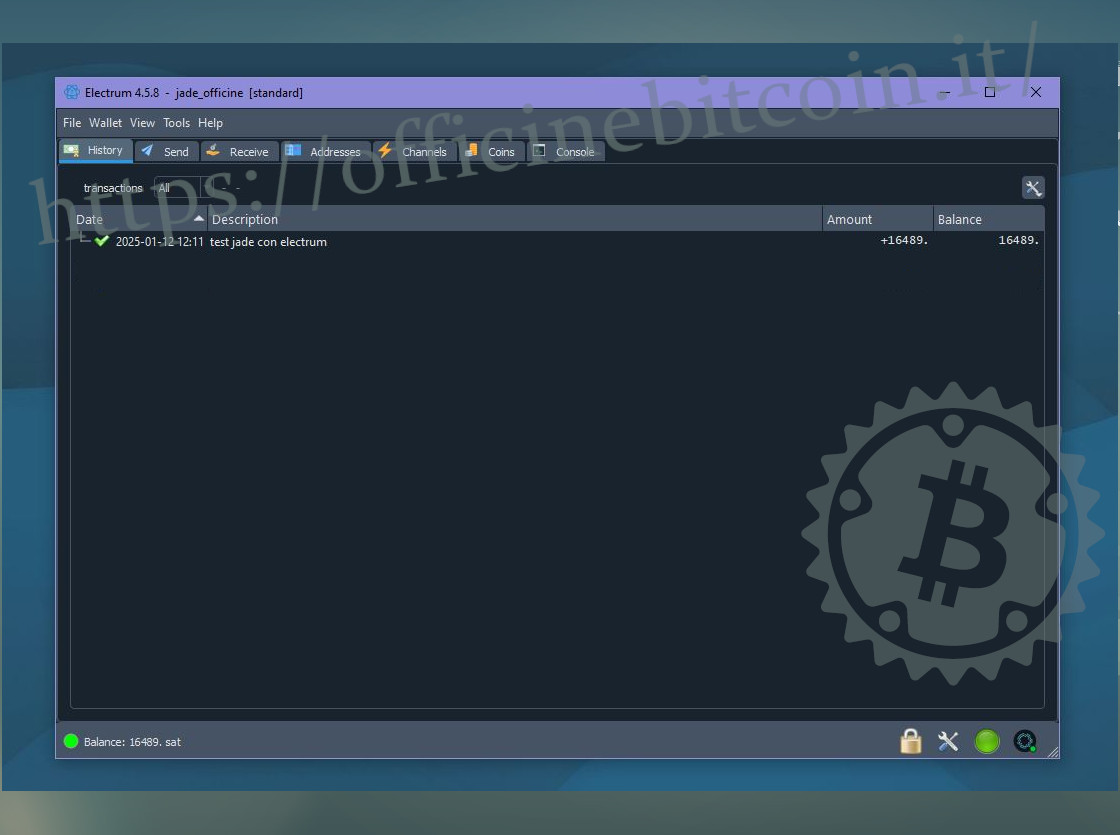
Once the transaction has been confirmed, you can spend this UTXO and finish the test.
The spend will require using Jade to sign.
Go to Electrum’s Send menu, paste a scriptPubKey and check it carefully.
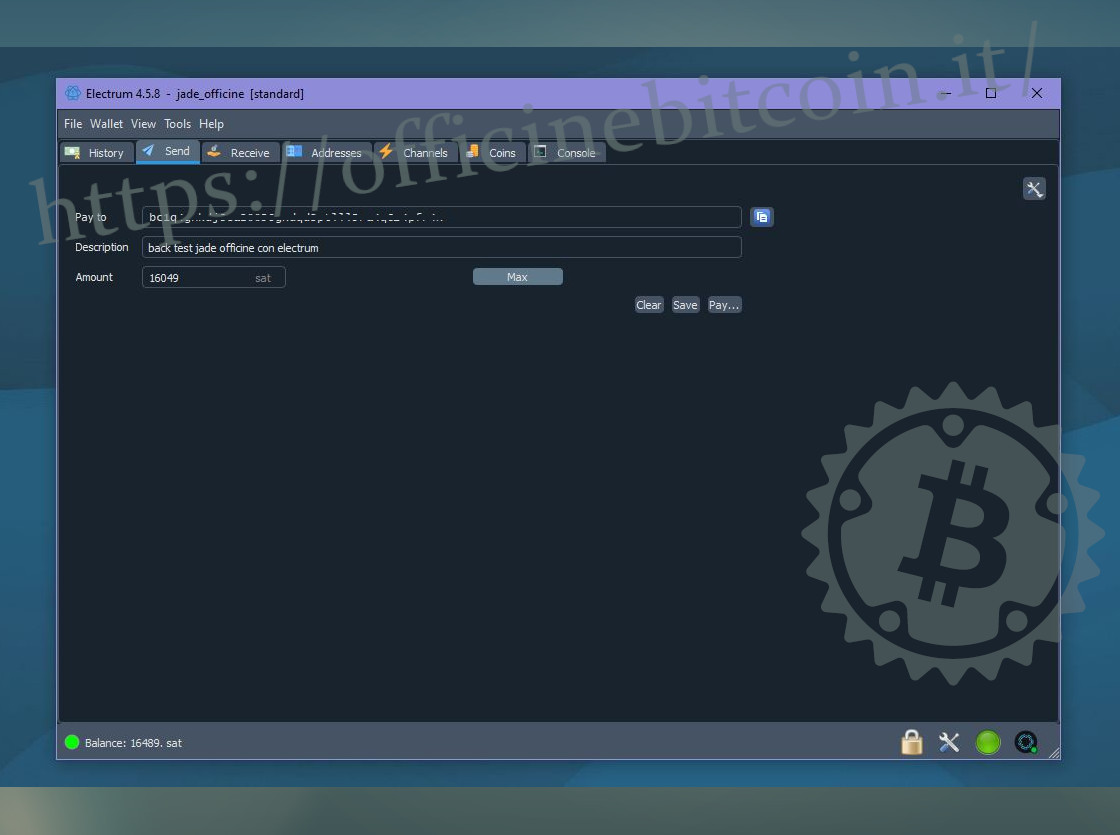
When finished, press Pay.
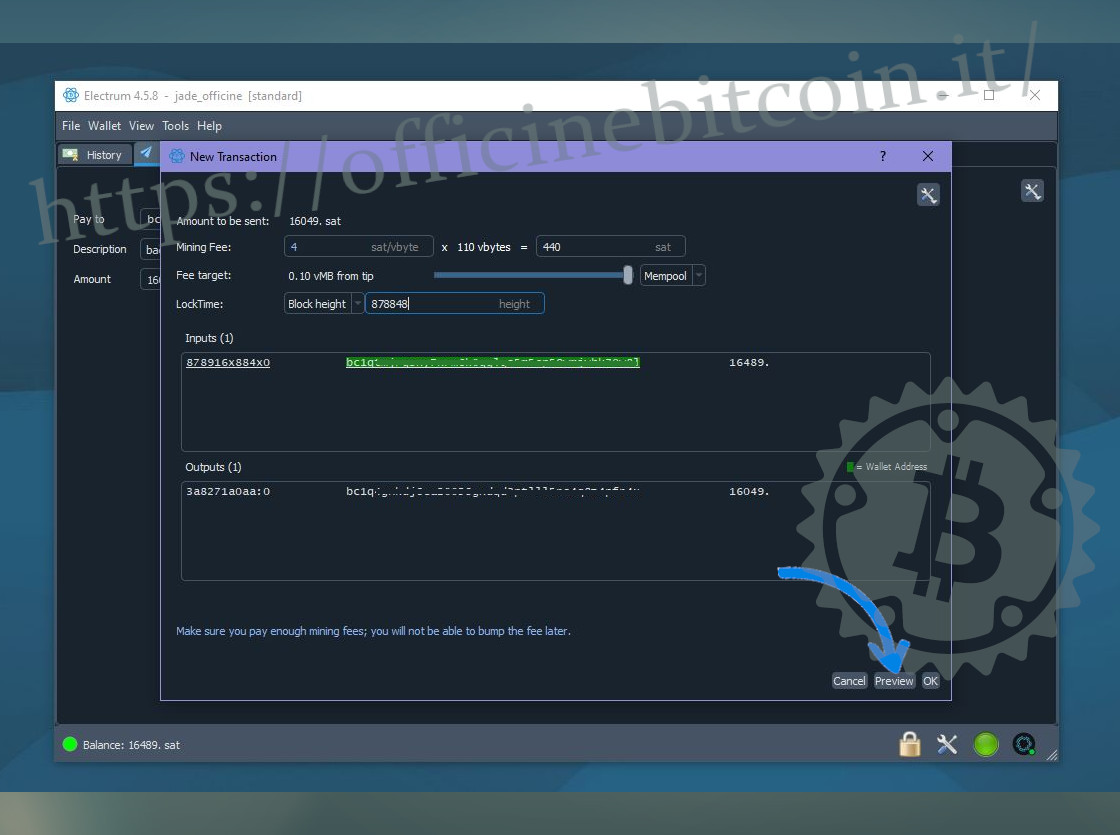
The transaction window opens, where it is important to set the correct transaction fees. Once all settings are complete, click Preview at the bottom right.
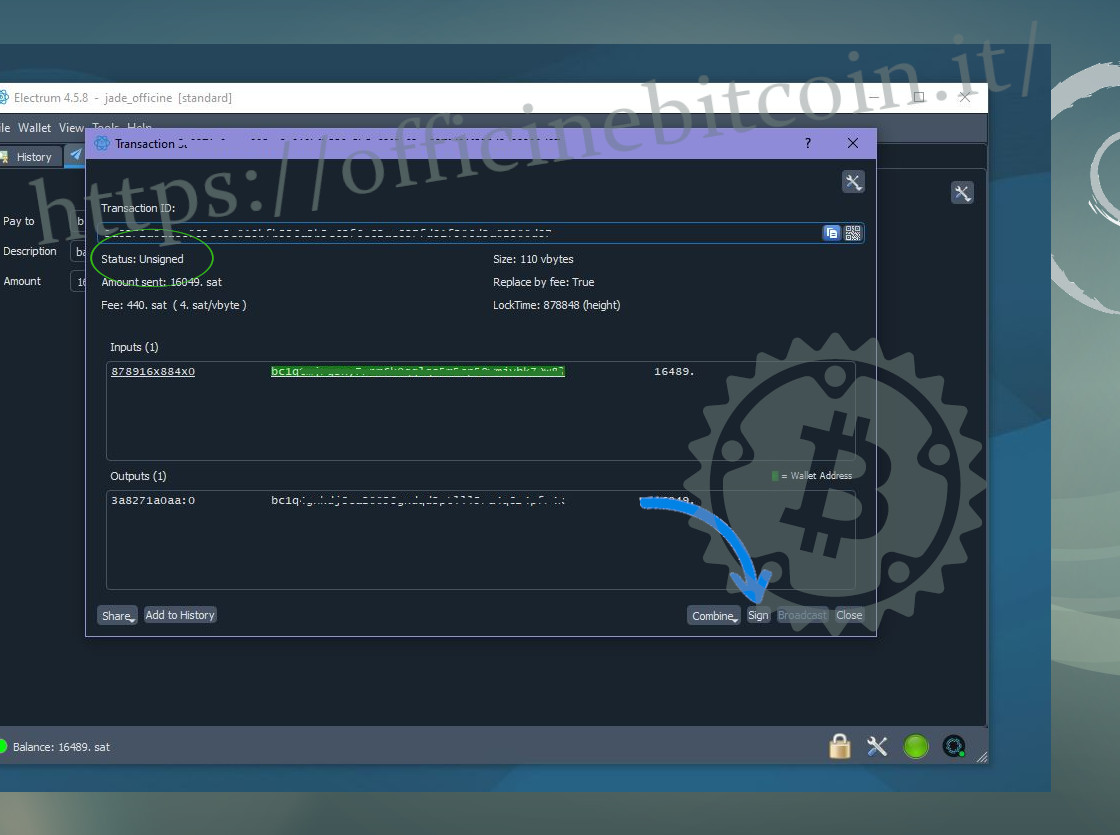
The transaction window shows some important details, first of all the status: Unsigned.
At this stage you can also see the Sign command, precisely to apply the signature with Jade.
Electrum warns you to follow the instructions on the hardware device, which is ready to sign.
Before doing so, however, it is better to verify what you are signing: all the parameters of the transaction just set also appear on Jade, and you can verify them all.

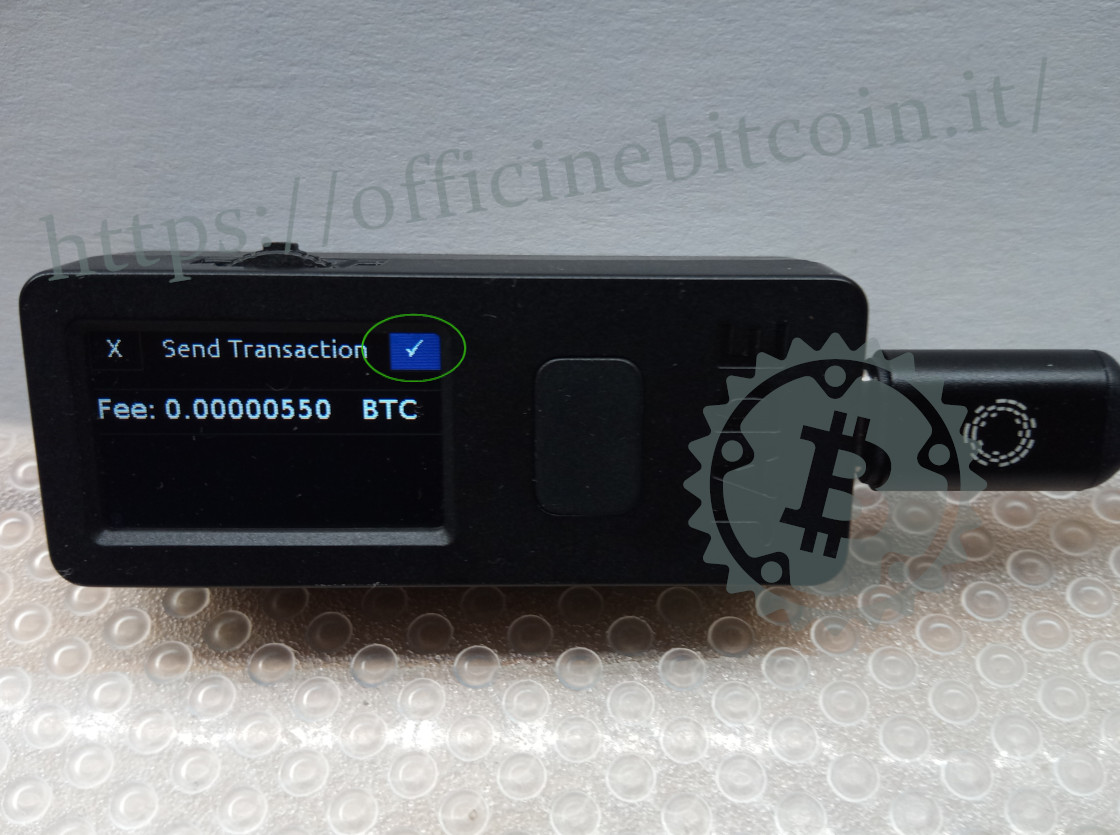
To continue, make sure the cursor is always positioned on the arrow → that leads to the next steps, and never on the “X” that cancels the operation.
The verification display ends when Jade shows the fees. At this point, confirming is equivalent to applying the signature.
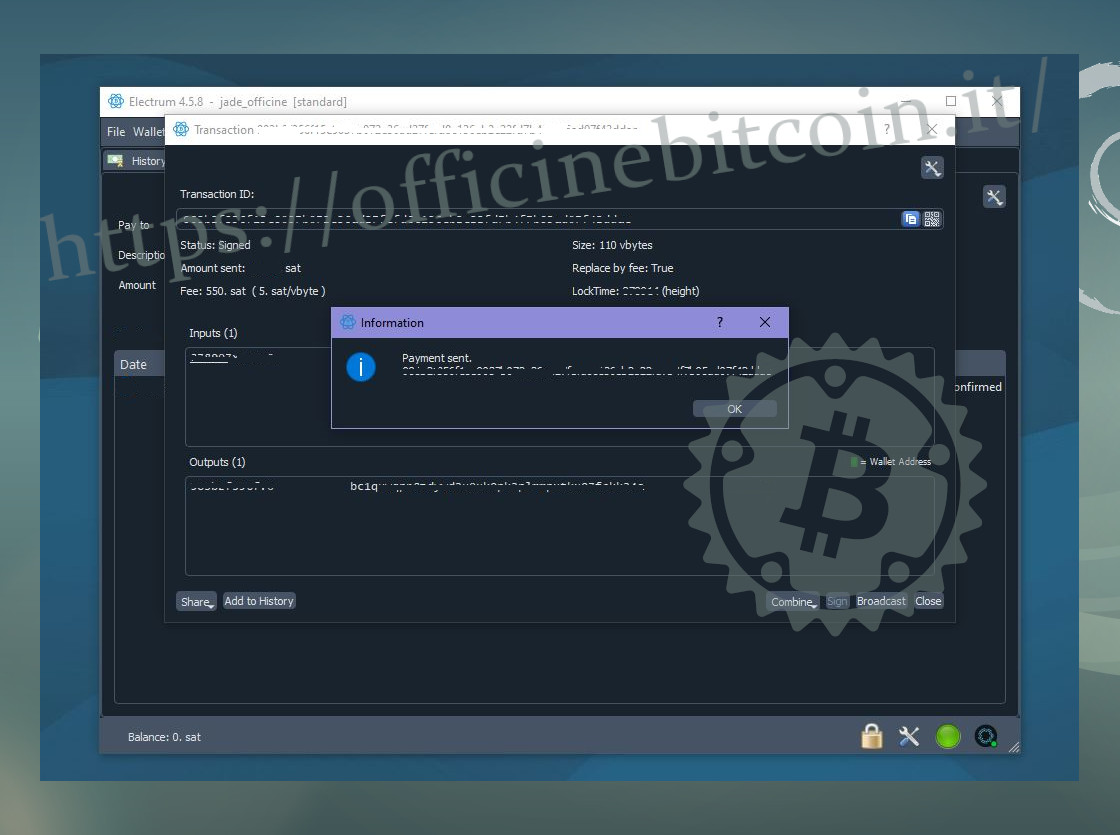
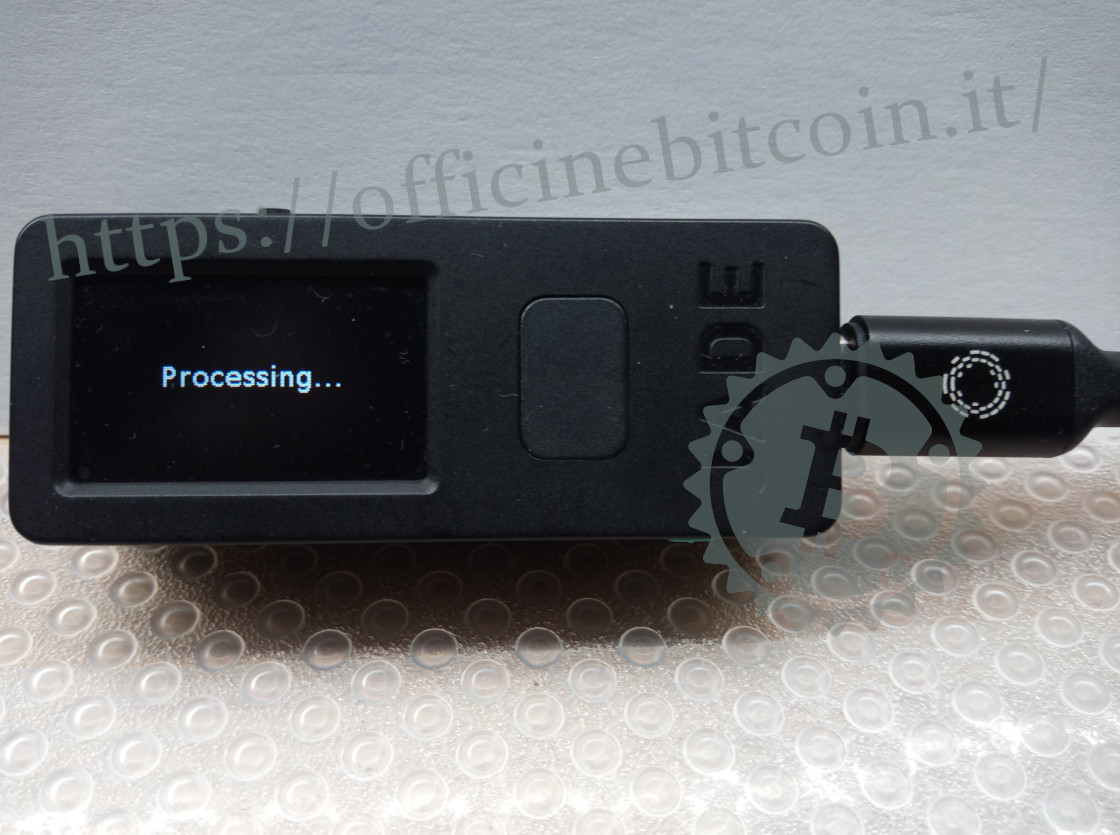
For a brief moment Jade processes the signature.
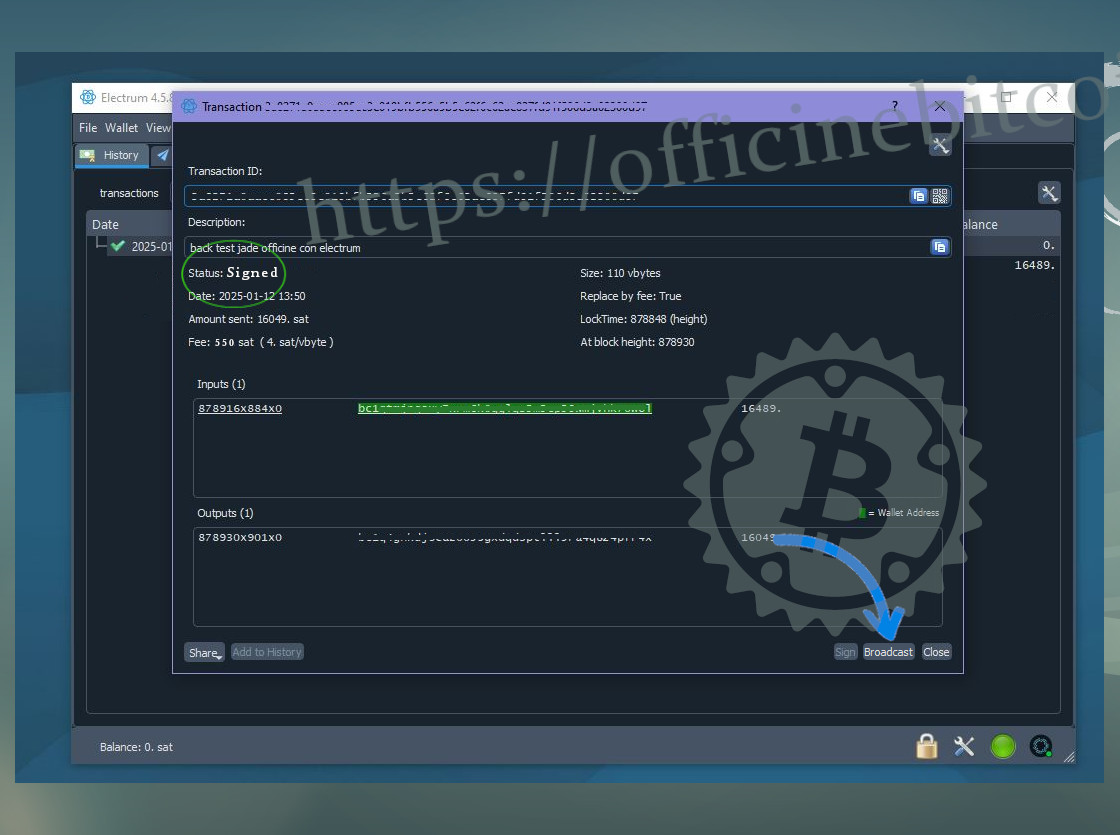
Meanwhile, on Electrum, you can check the transaction status, which has changed from Unsigned to Signed, and it is now possible to propagate the transaction by clicking Broadcast.
The wallet, tested in this way, can be used to receive UTXO intended to be stored securely.