Officine Bitcoin
Lezioni online Bitcoin-only
This project is maintained by valerio-vaccaro
Officine Bitcoin Bitcoin-only lesson This project is maintained by valerio-vaccaro
🌍 Traduzioni
🇨🇳 中文 🇬🇧 English 🇪🇸 Español 🇵🇹 Português 🇷🇺 Русский 🇫🇷 Français 🇩🇪 Deutsch 🇮🇹 Italiano 🇭🇺 Magyar 🏳️ Milanés 🏳️ Veneto
Jade airgapped with Sparrow Wallet

Using Jade for completely airgapped communications is possible, thanks to its firmware and hardware characteristics.
The integrated camera and display, in fact, perform exactly the function of acquiring and sending messages to and from the watch-only wallet.
This tutorial shows how to use Jade airgapped with Sparrow Wallet.
The procedure involves first setup, then exporting the extended public key from Jade to Sparrow-watch-only, and finally, a spend transaction.
For educational choice, it was decided to start by showing the sequence of operations starting from Jade.
Advanced Setup
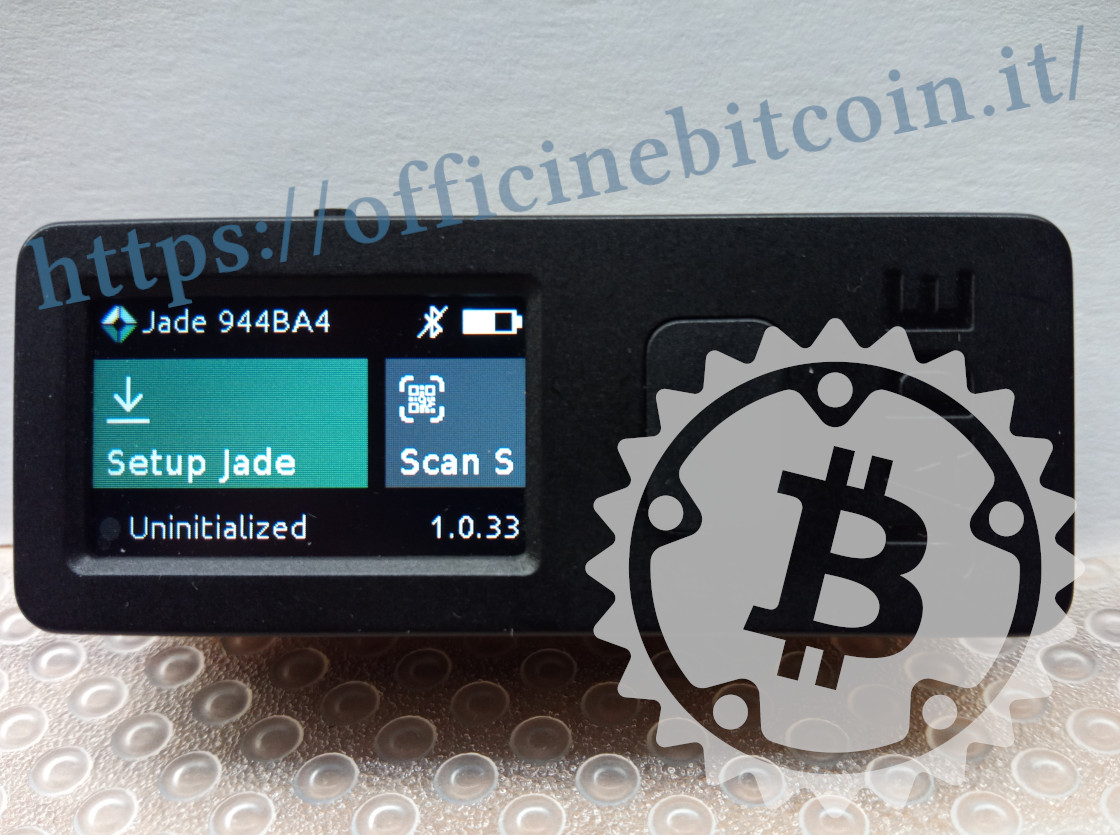
The choice to use the device airgapped involves a real setup, i.e., it must be done at the time of Jade initialization (1) which must therefore present itself as uninitialized.
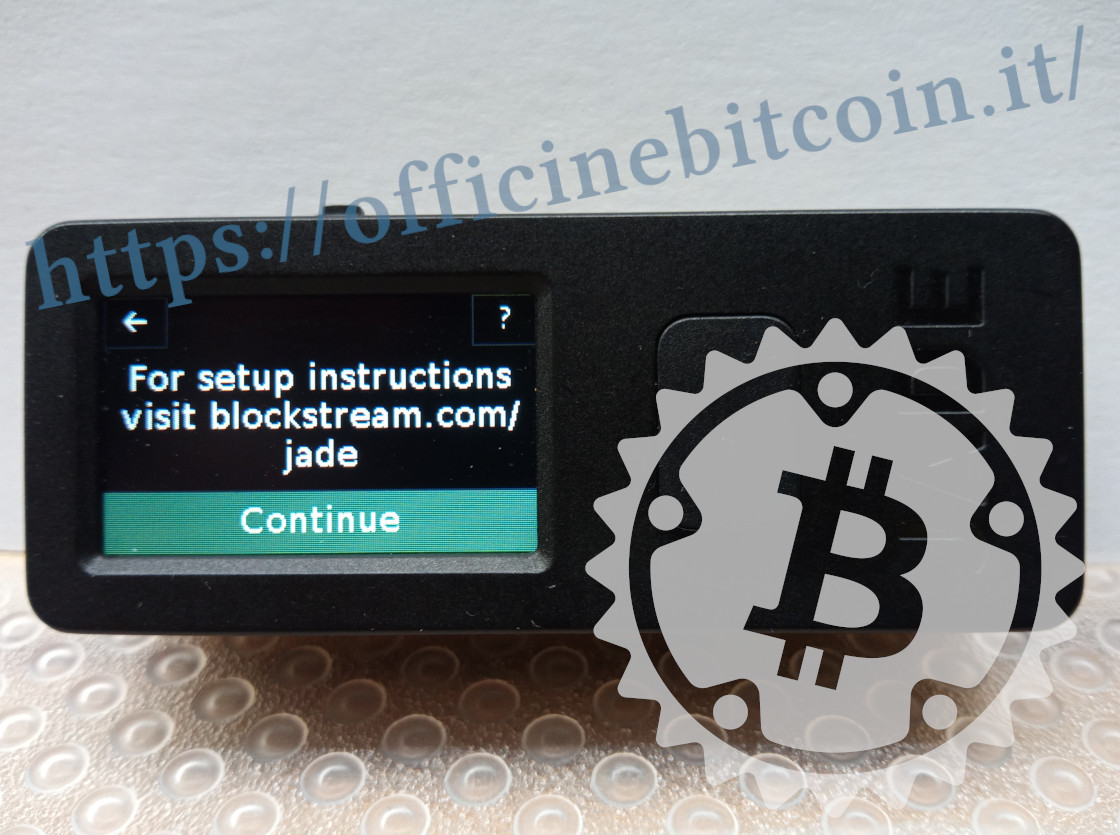
A notice appears to check the setup instructions from the website https://blockstream.com/jade/.
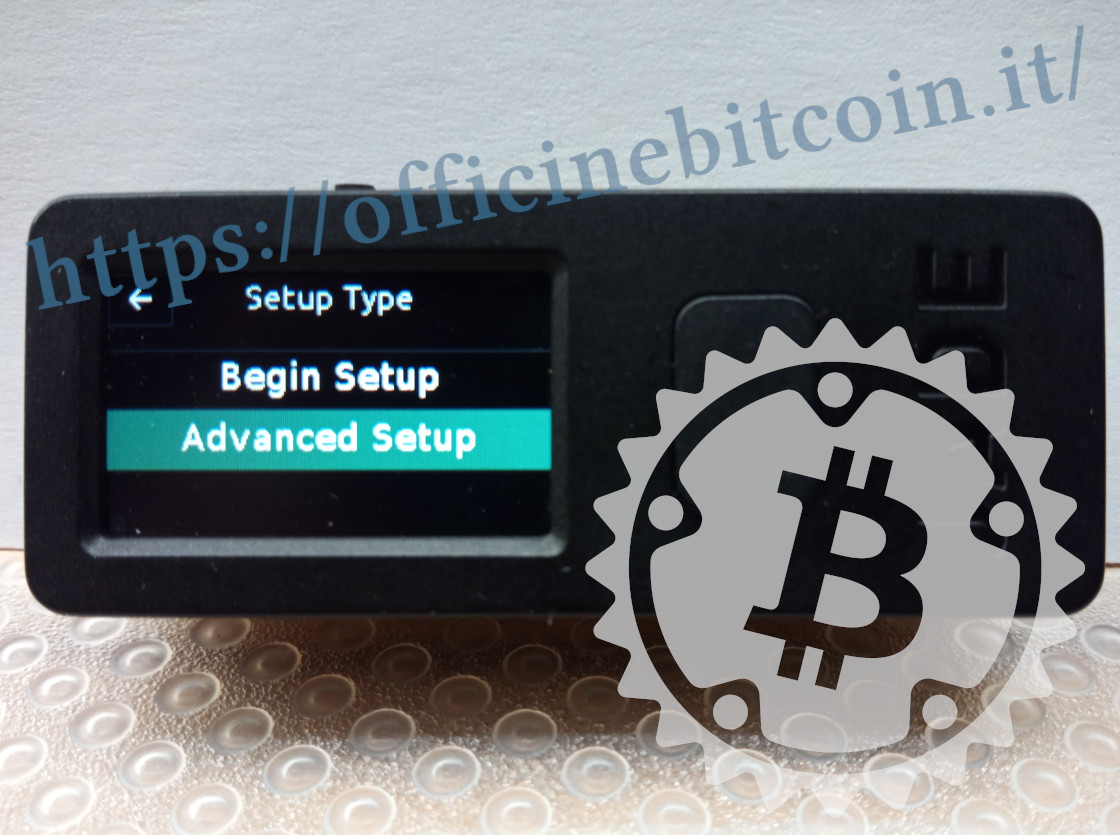
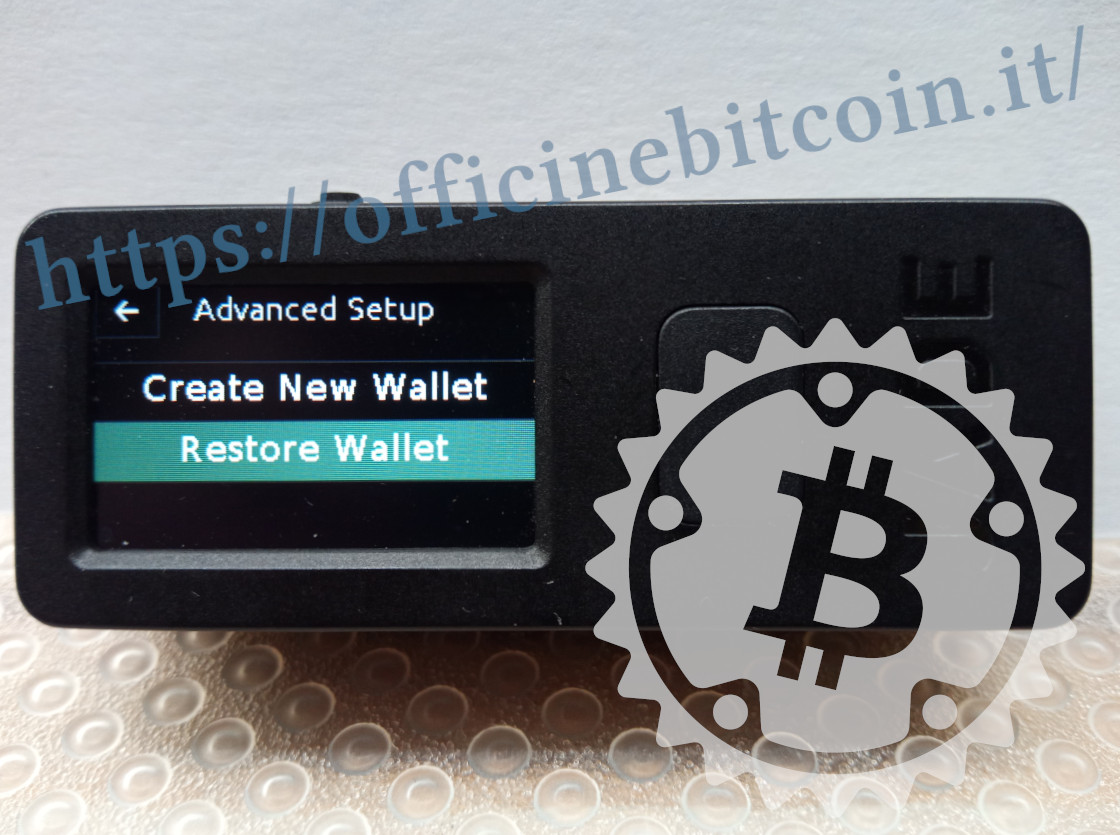
Jade’s configuration for airgapped use can only be done by choosing Advanced Setup.
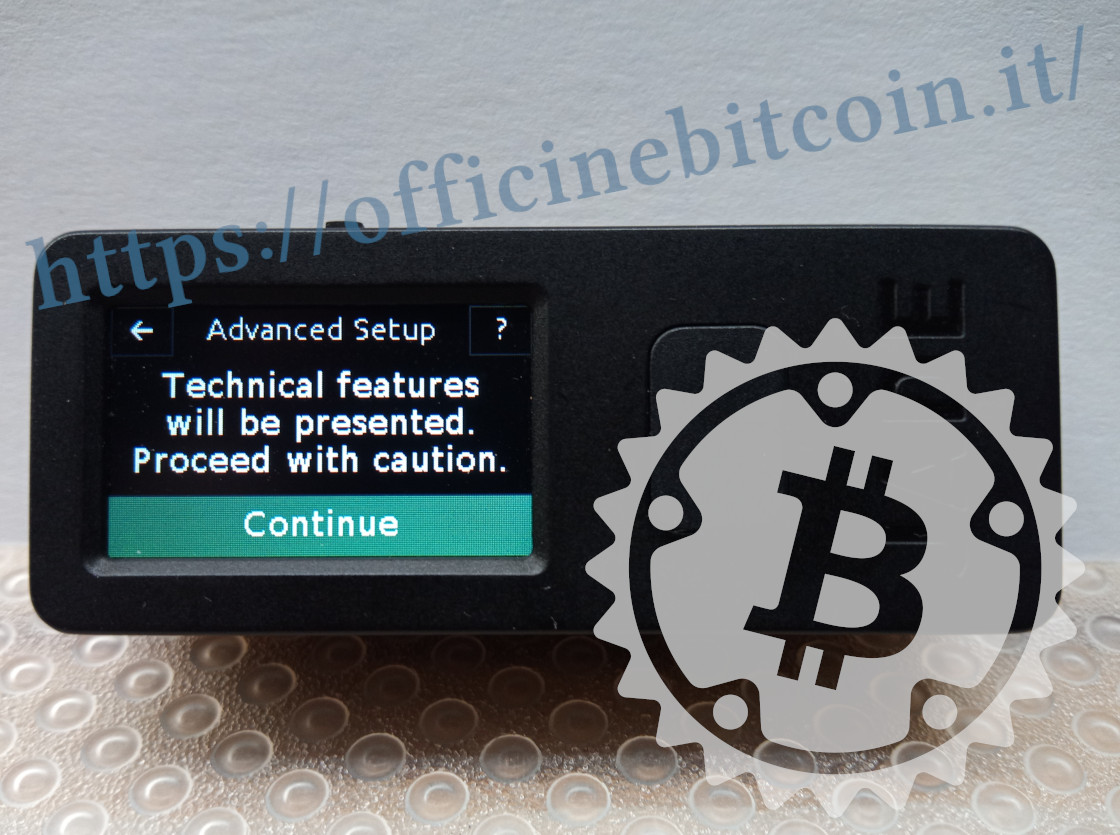
Jade warns that this setup has some advanced technical features. It’s sufficient to pay maximum attention and click the confirmation button
With the aim of entering the mnemonic generated with dice entropy, choose Restore Wallet.
You must now set the length of the mnemonic, 12 or 24 words. The menu also offers the possibility to restore the wallet by scanning a QR code: this is the SeedQr which was covered in the dedicated Setup tutorial.
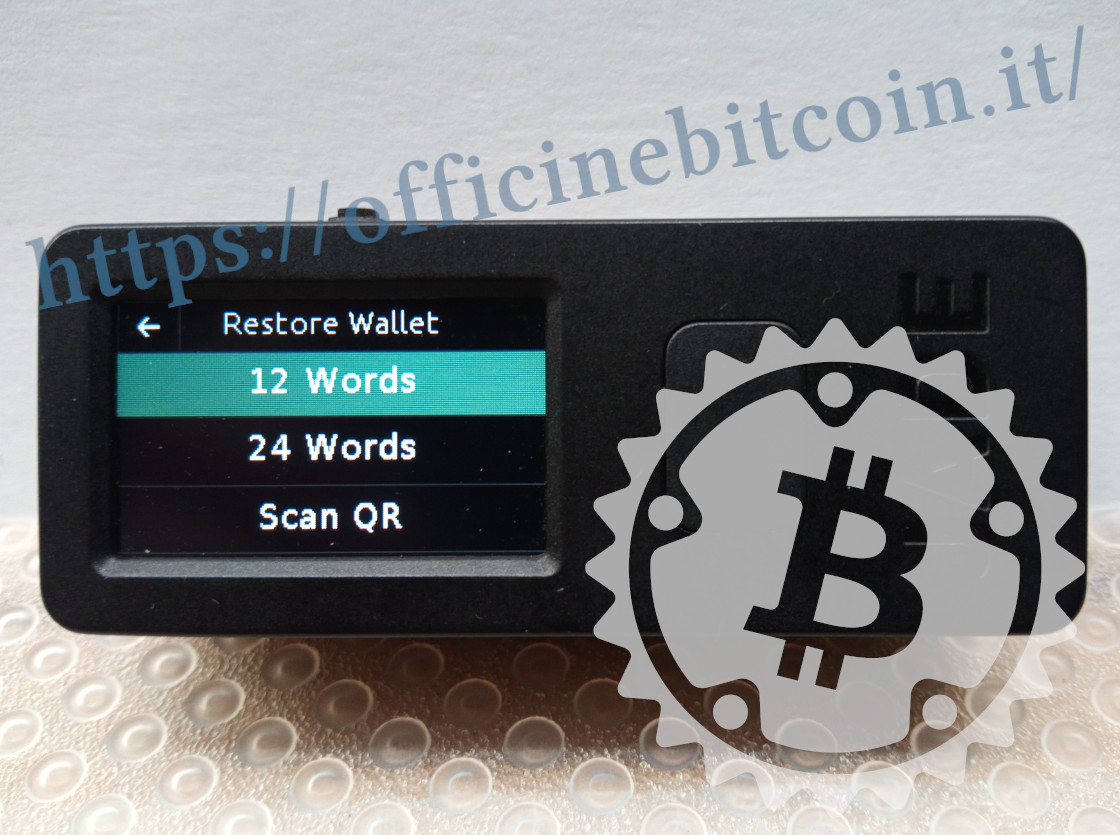
For purely educational and speed reasons, this tutorial shows setup with a 12-word mnemonic.
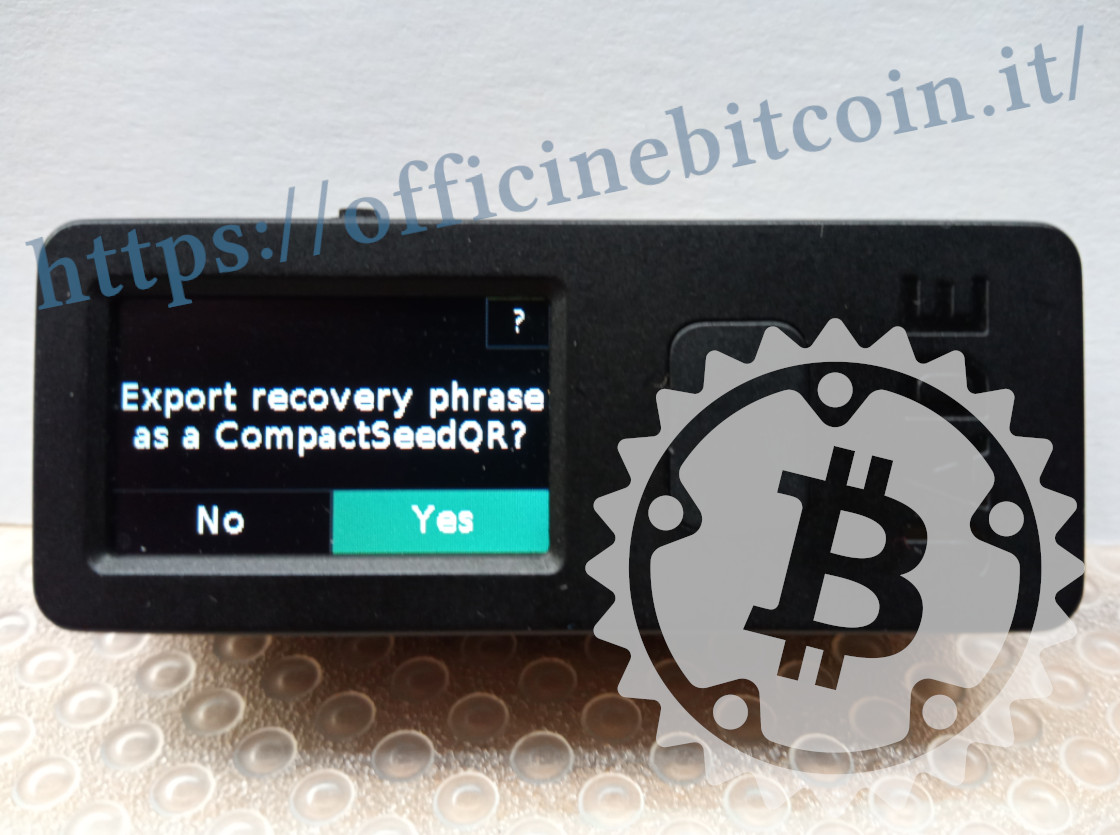
The next step is to be followed as described, to be able to access the airgapped functionality. You must indeed choose to export the recovery phrase in CompactSeedQR format, selecting Yes.
After the choice, you’re warned that you must draw the QR code on the template provided in the box, as shown in the “Extra” section of the lesson dedicated to Setup.
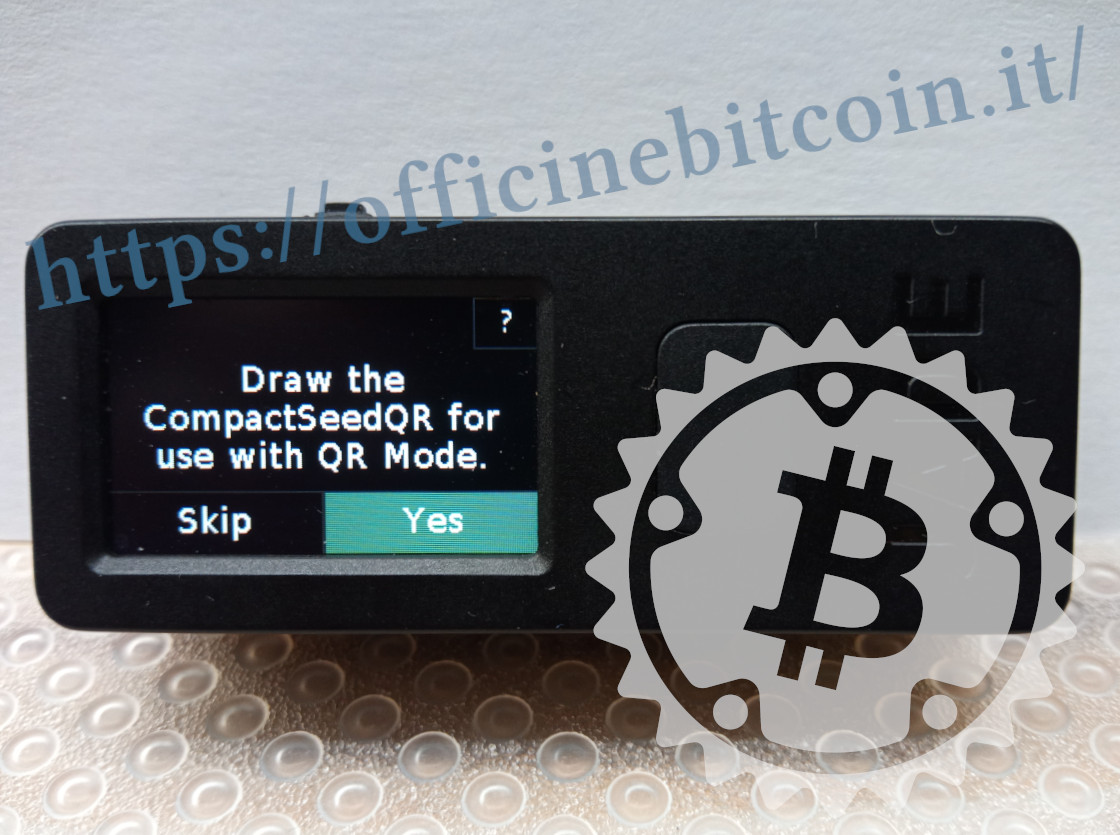
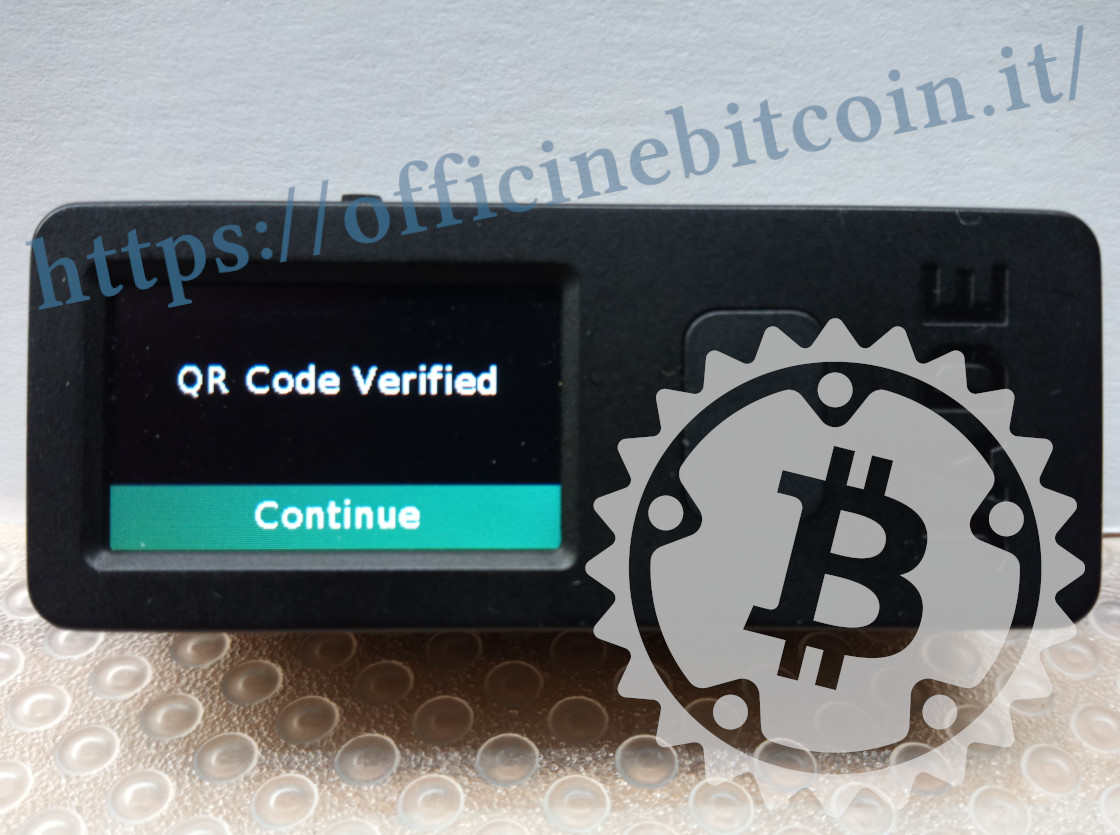
At the end of the procedure, you must proceed to verify the correspondence between what was drawn and the CompactSeedQR shown by the device. In fact, Jade’s built-in camera is enabled with which you must frame the SeedQR just drawn.
If the drawing corresponds to what the device proposed in the procedure just completed, a confirmation signal is displayed.
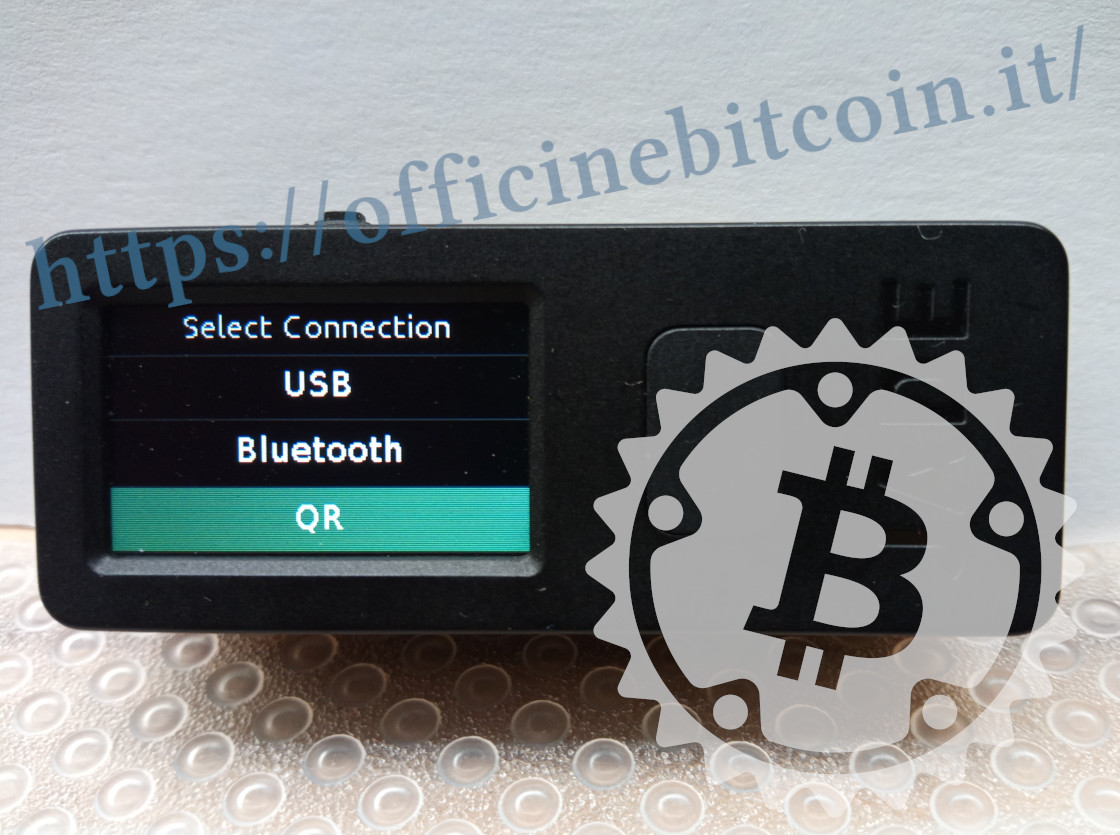
Now Jade shows the options for connecting the device to a companion app: choose QR.
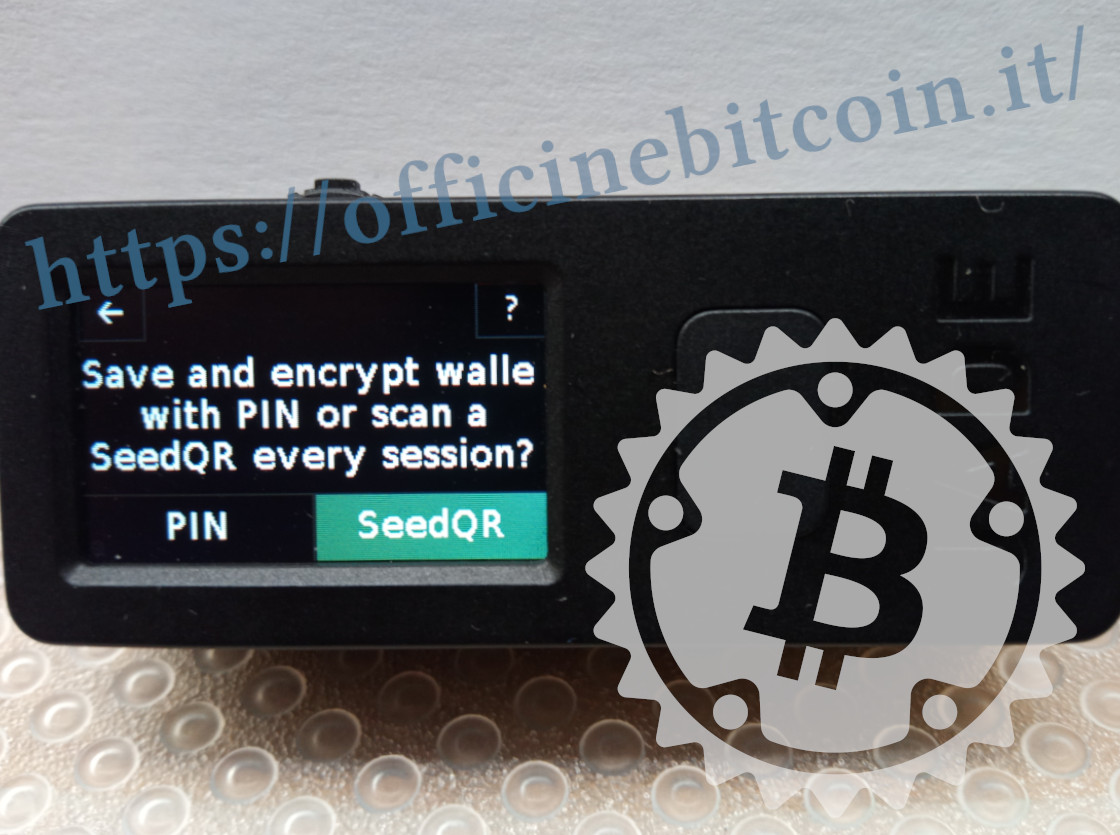
The next step also requires a choice from the user: save the encrypted keys on the device or load them at each session, scanning the SeedQR just drawn
Note:
It’s useful to understand these two access options:
- QR PIN Unlock: During initialization, Jade will save the wallet data by encrypting it on the device; they will always be accessible by unlocking Jade with the QR PIN procedure.
- SeedQR: the SeedQR must be scanned by Jade every time you want to load the keys on the device.
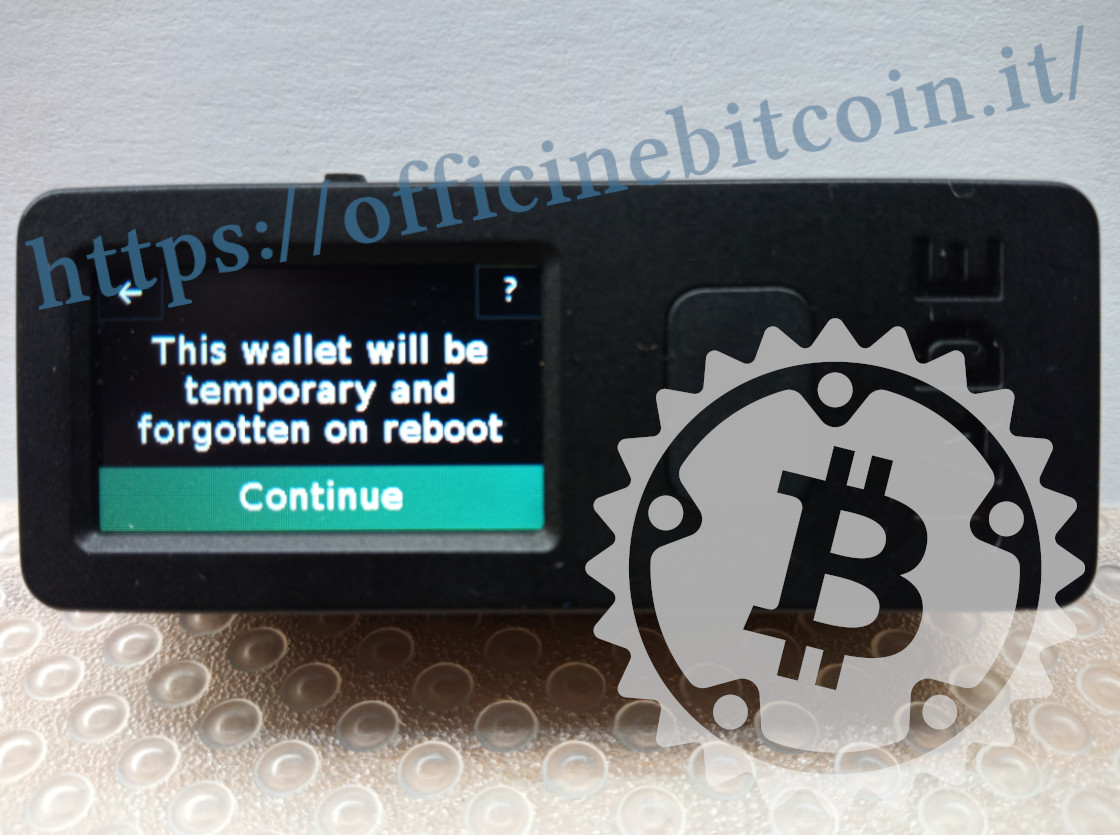
For educational choice, in the previous option SeedQR was chosen, therefore the device will be used stateless: Jade warns that the session is temporary and the keys will be “forgotten” by the device when it’s turned off.
Public key export
Now that Jade is specifically configured to work fully airgapped, we move to the delicate phase of exporting the public key.
Starting always from Jade, which has returned to the initial menus, choose Options.
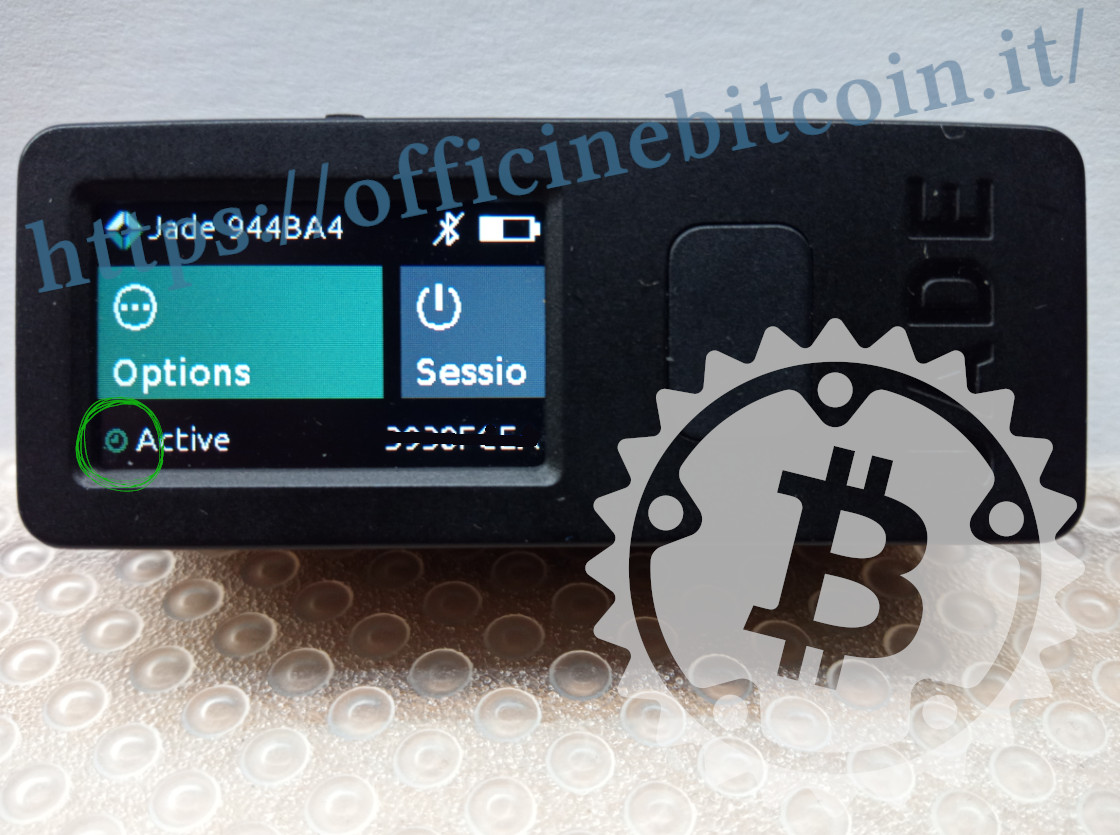
Note: that Jade is in Temporary Signer mode is visible from the icon representing a clock next to the Active indication.
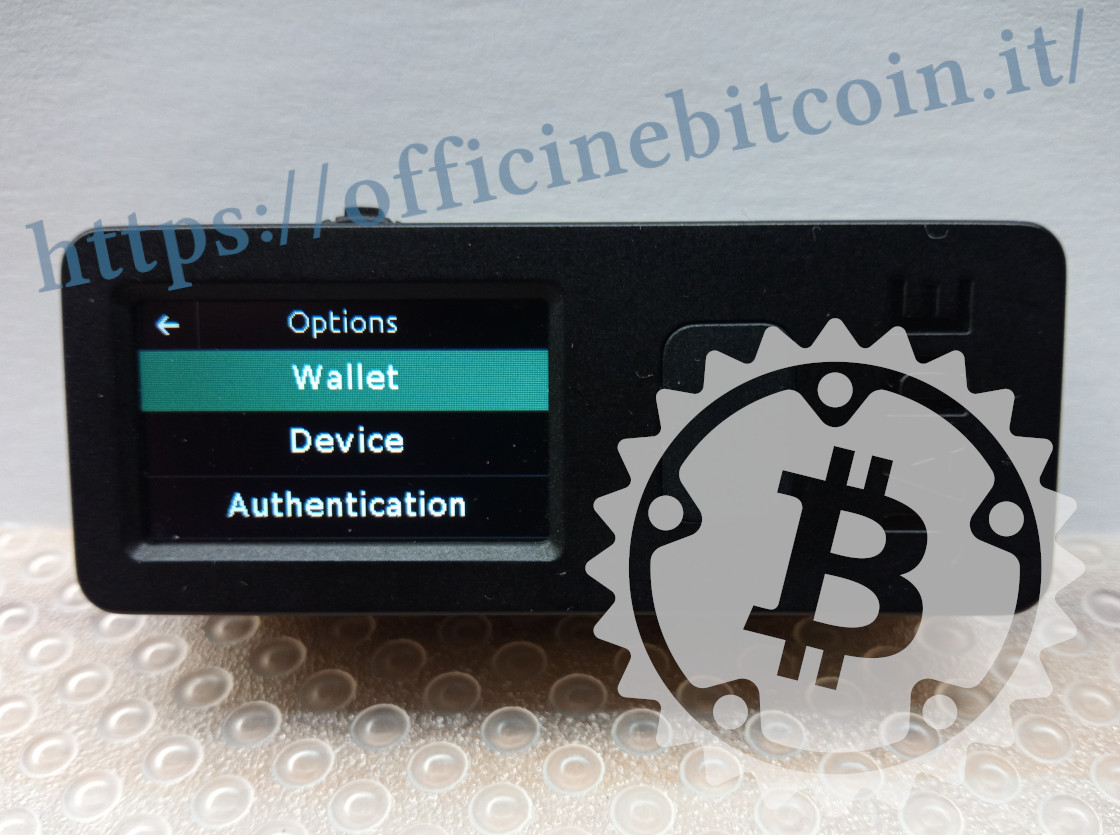
In Options, choose Wallet
Then select Export Xpub
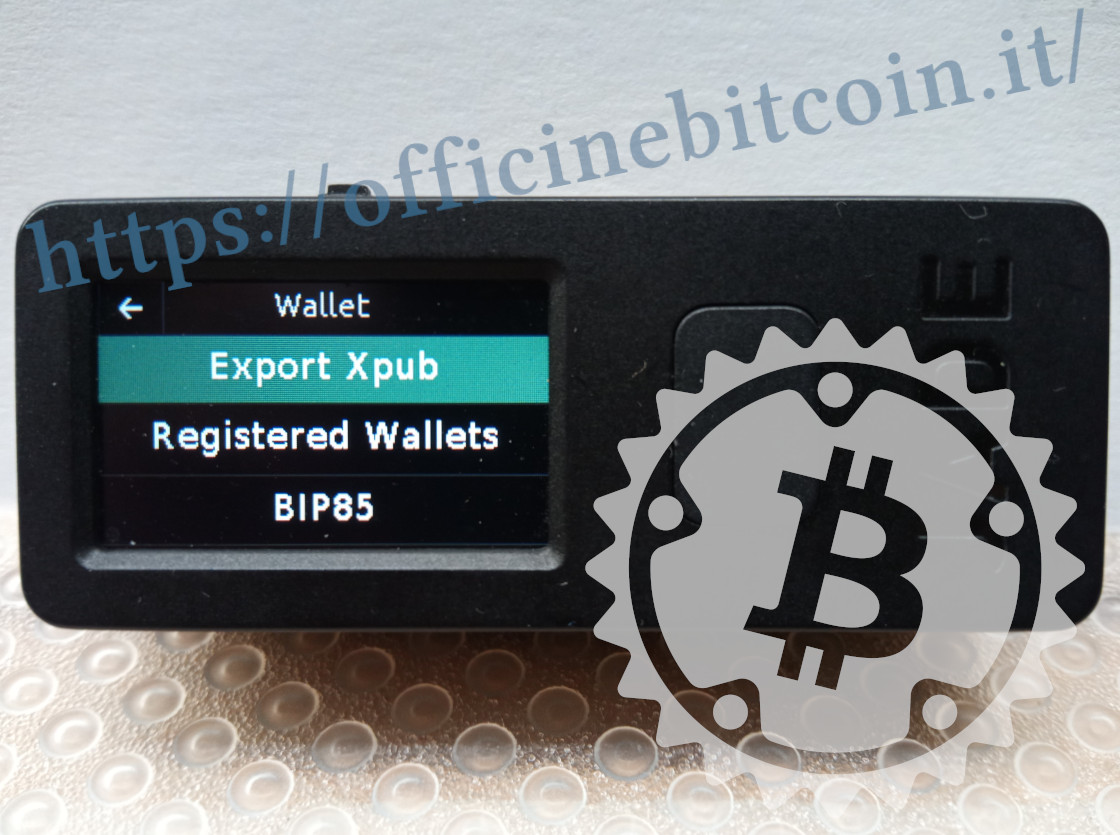
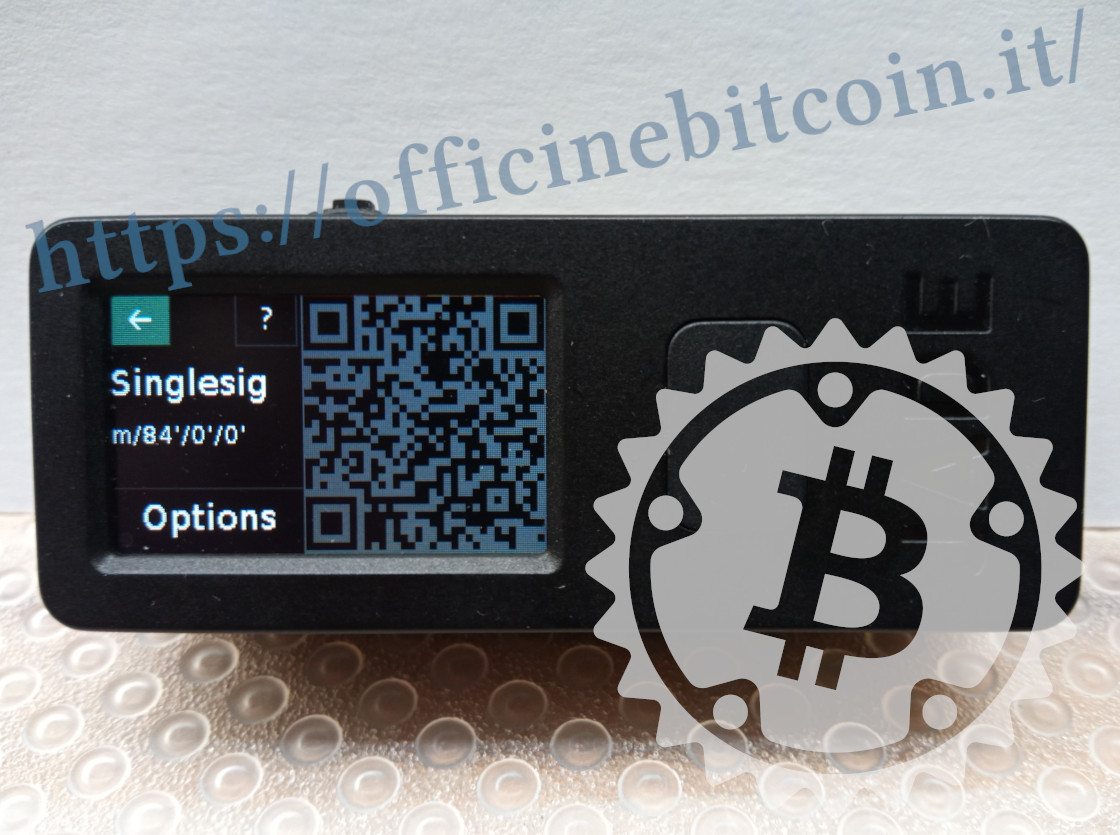
At this point, Jade’s display shows a dynamic QR code that represents the extended public key. In Options of this submenu, you can choose the export of a multisig/singlesig and the derivation path.
For this tutorial, it was chosen to export a full segwit singlesig.
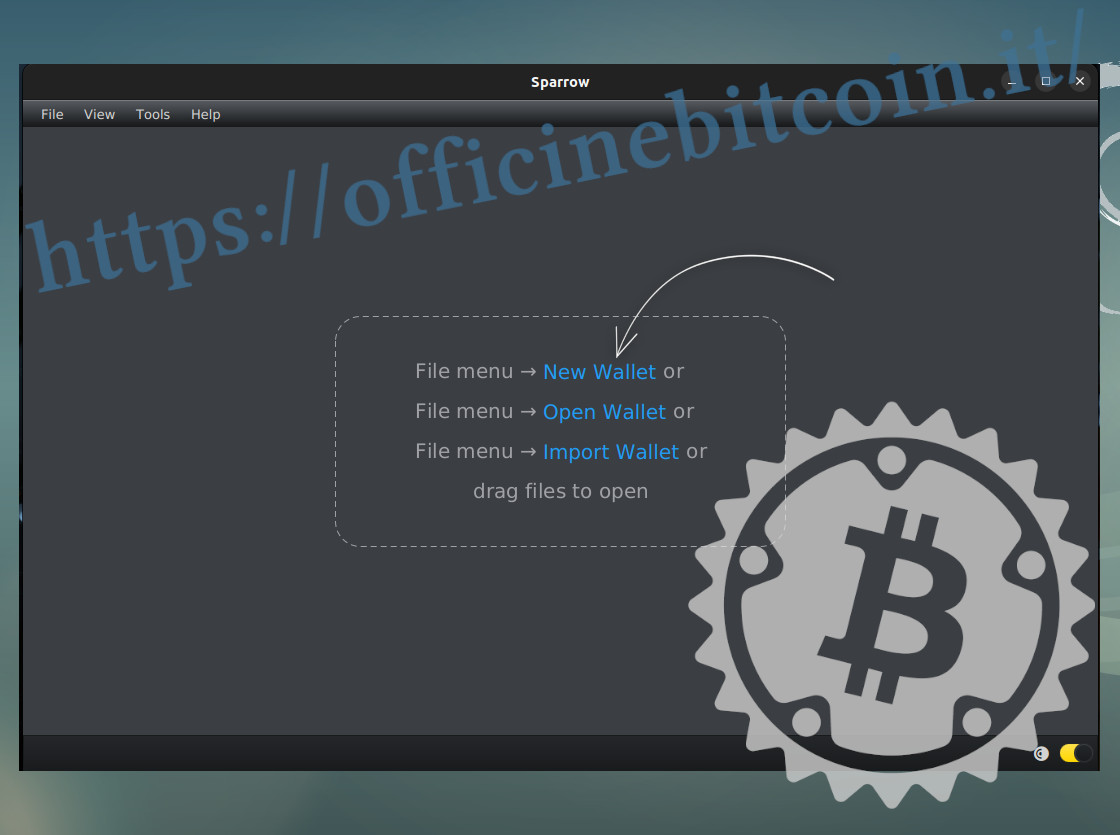
It’s at this stage that Sparrow comes into play. Launch the program and create a new wallet by choosing New Wallet
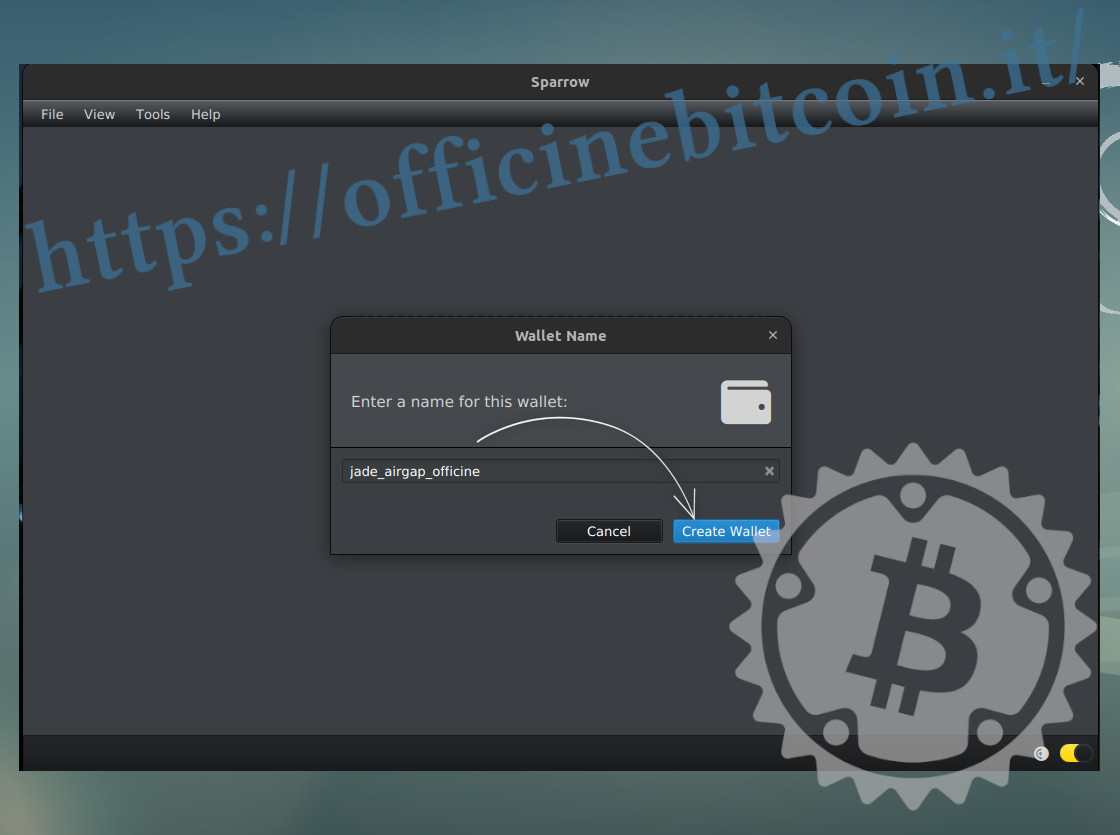
Give a name to the wallet, then click Create Wallet
In the next settings screen, click on Airgapped Hardware Wallet
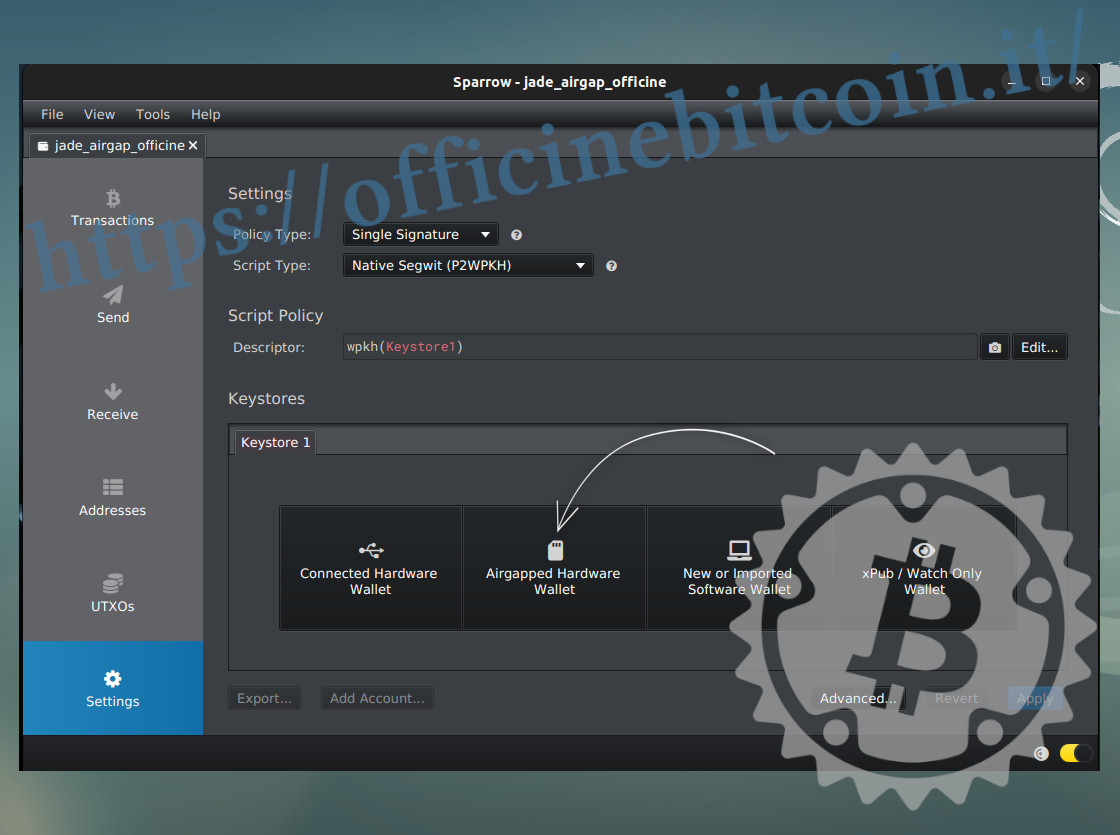
A Sparrow window opens showing the implemented hardware wallets. Choose Jade

At this point, the PC camera with which you’re operating is activated.
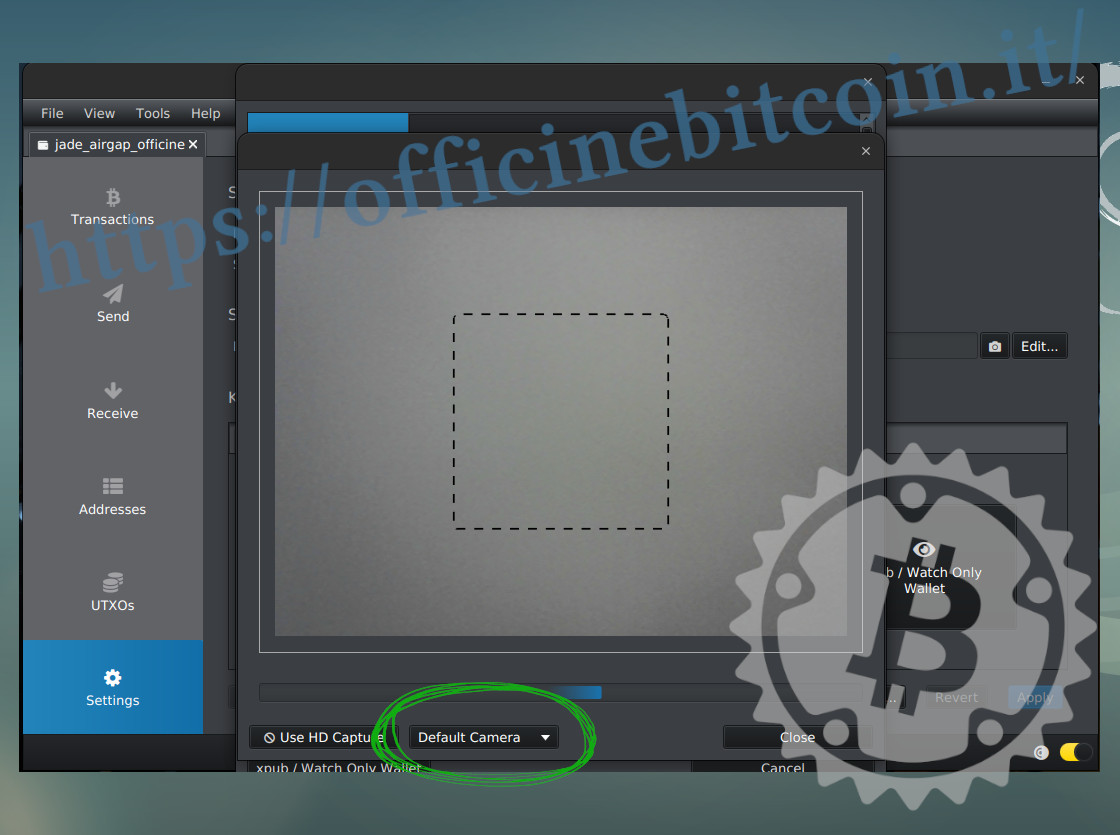
If you have more than one webcam available, select the best one from the dropdown menu where Default Camera appears.
Now take Jade (which in the meantime is continuing to show the dynamic QR code representing the Xpub) and place the display in front of the PC camera, keeping the QR code within the dashed space.
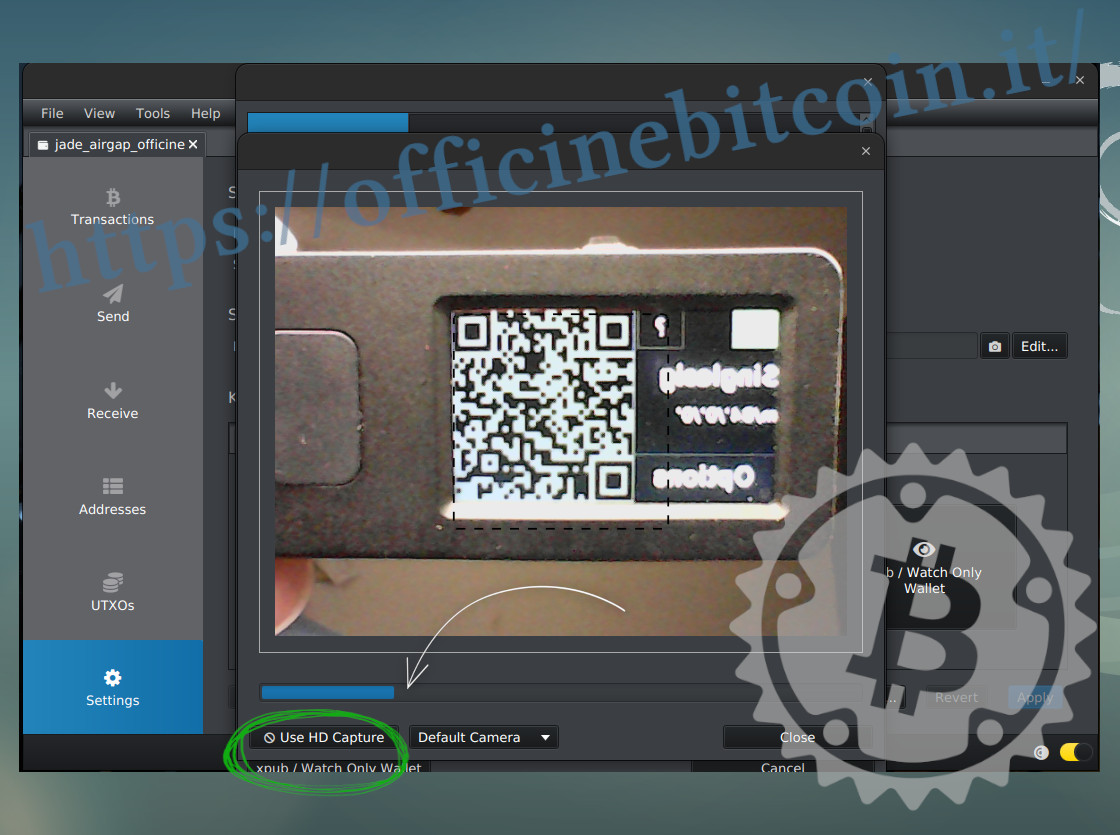
Below the camera image, there’s a scroll bar that turns blue.
The progress of Xpub acquisition in Sparrow is signaled in that way: from 0-100%
At this stage, some adjustments may be necessary: increase/decrease the brightness of Jade’s display, as well as its front lighting, or choose from Sparrow’s dropdown menu Use HD Capture or a resolution reduction.
Don’t be frightened by these details, once you’ve set up your personal work environment, these phases will proceed in complete comfort and ease. (2)
In fact, the export occurred when the camera window closes and, returning to Sparrow’s Settings, all the watch-only wallet data appears.
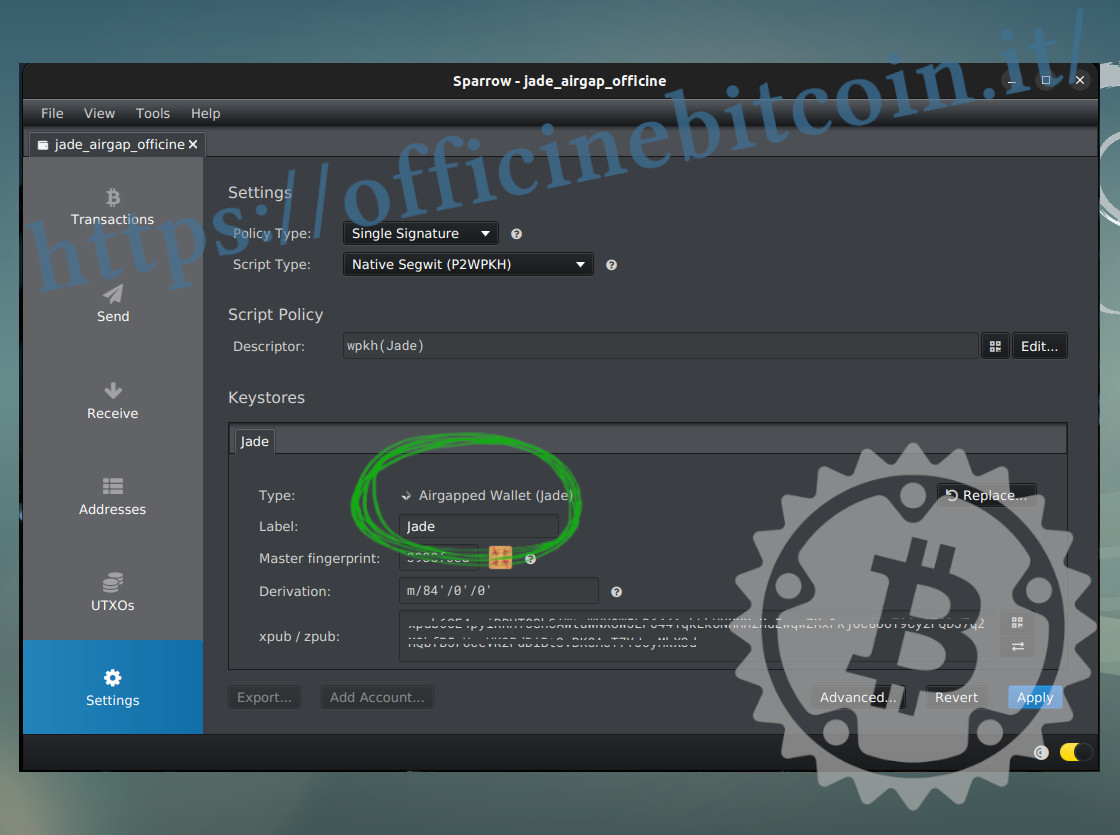
For Sparrow’s structure, it’s now necessary to apply the script policy by clicking Apply.
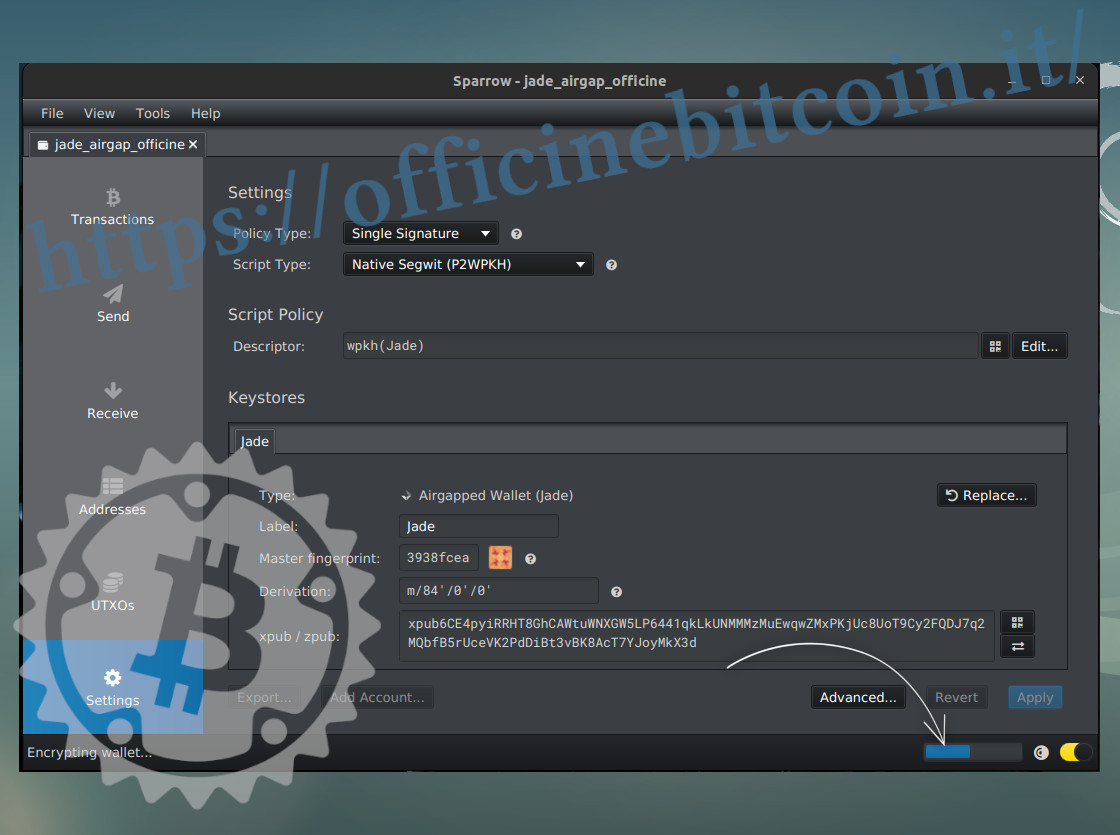
Wallet creation proceeds with entering and confirming a password for encrypting the wallet file.

And it concludes when the scroll bar at the bottom right has filled the field to 100%
Spend transaction
If, hypothetically, Jade covers the role of personal hardware wallet, it must be assumed that it has funds and that these must be spent in the future.
After choosing Sparrow as the watch-only wallet and Jade as the signing device, let’s see how to build, sign, and propagate a transaction with these two tools.
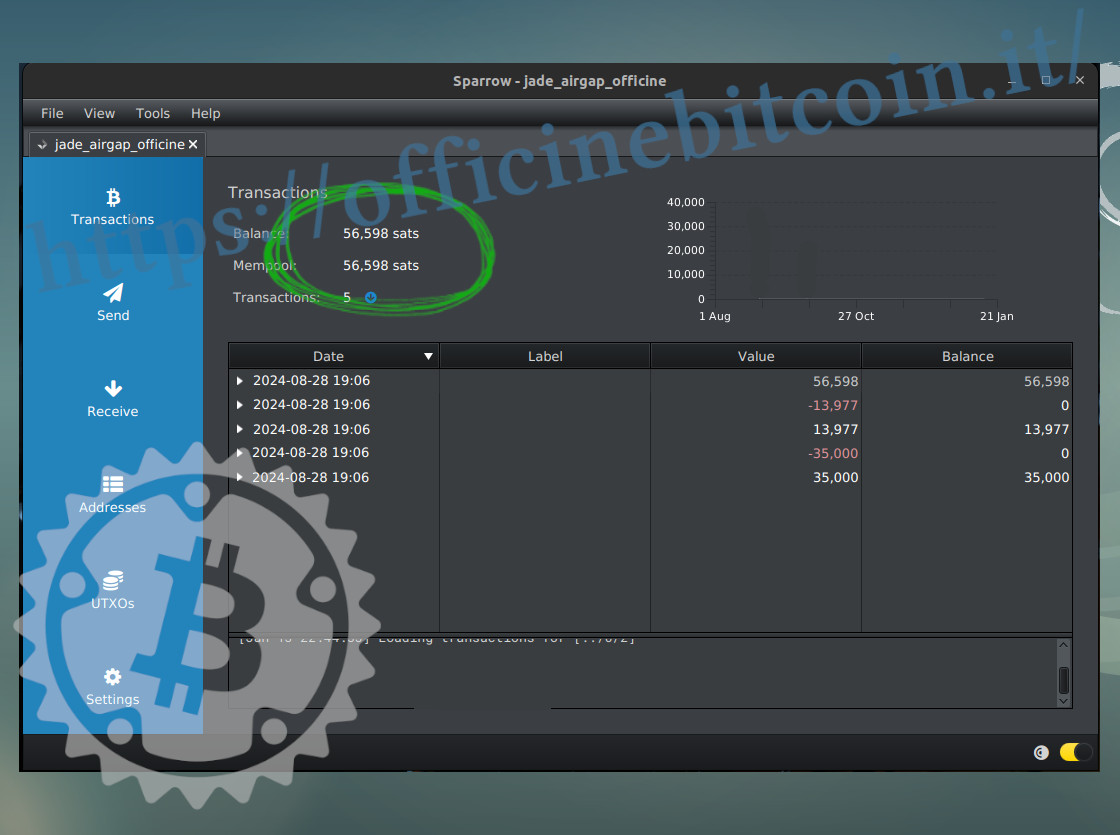
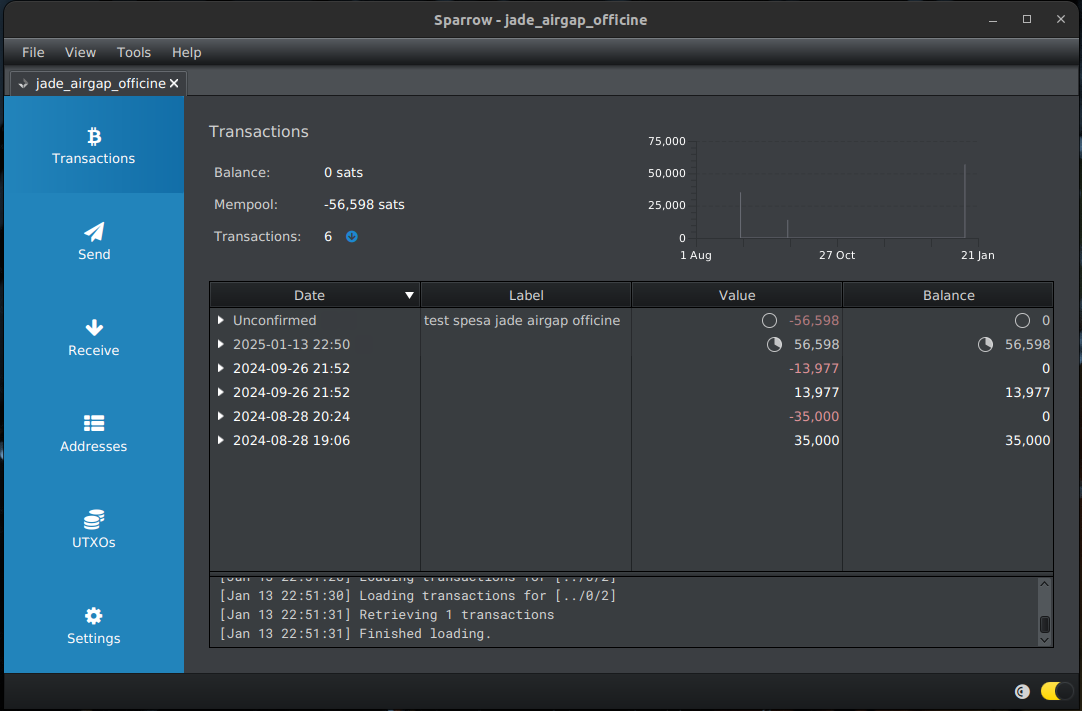
In the example, a total balance of 56,598 sats is available.
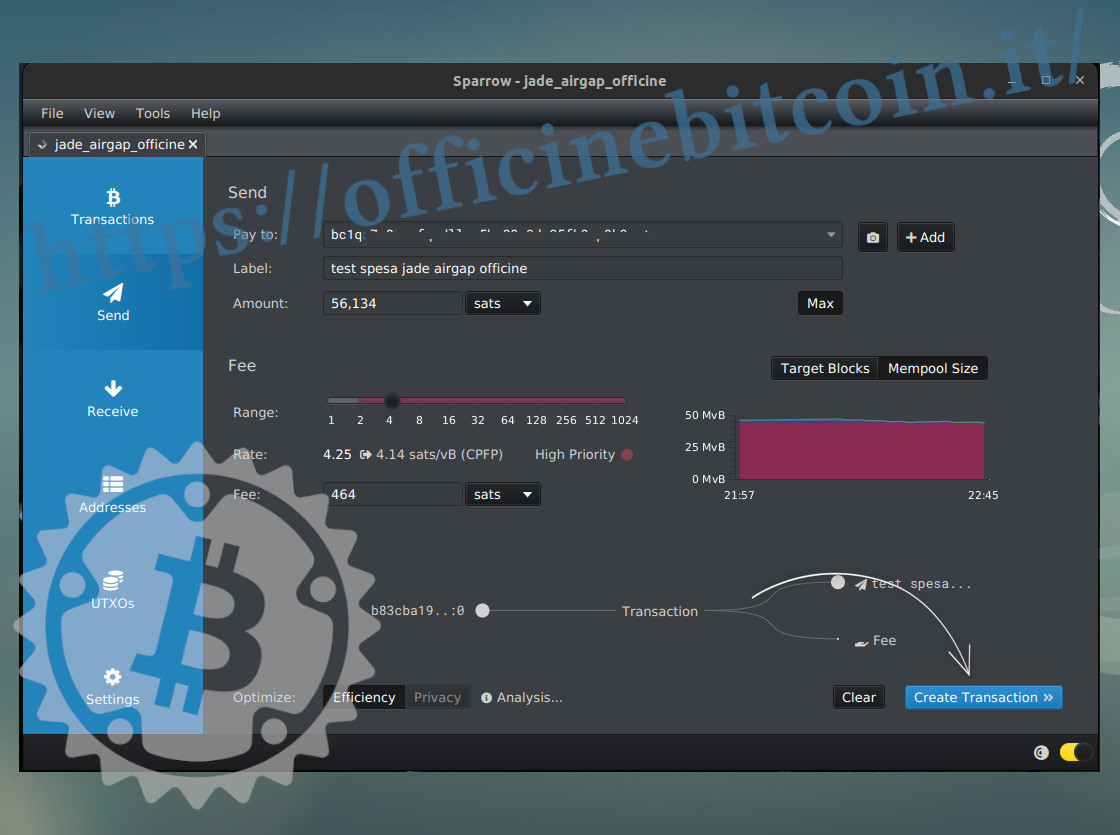
In Sparrow’s left menu, select Send and start building the spend transaction. After setting everything, click Create transaction at the bottom right.
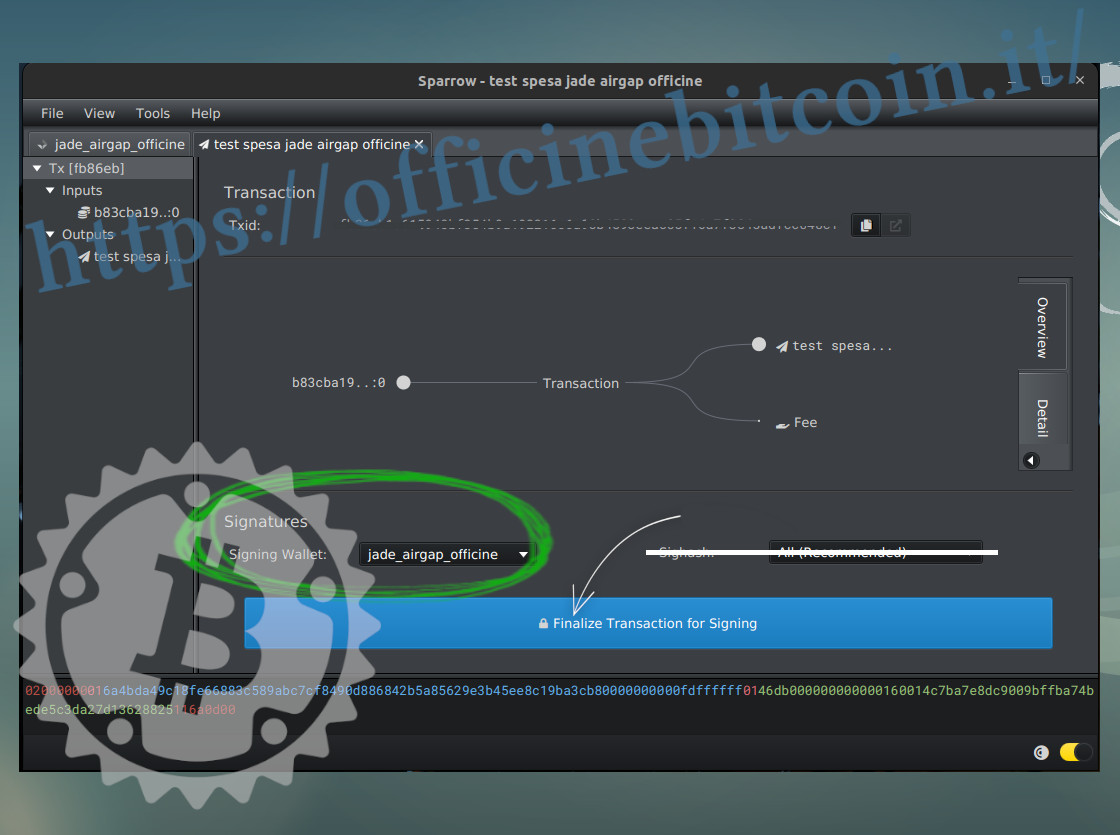
An advanced transaction window appears, where it’s visible that Sparrow recognizes Jade as the signing device (Signing Wallet).
If the settings are satisfactory, click Finalize Transaction.
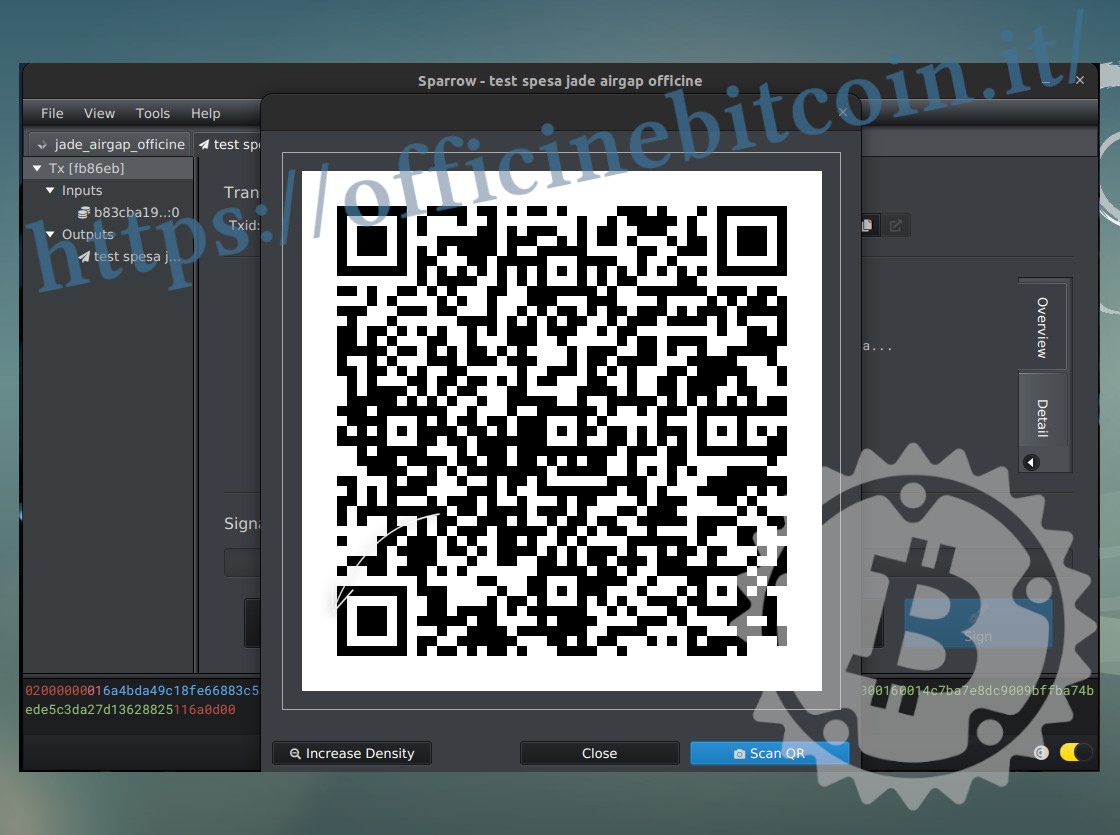
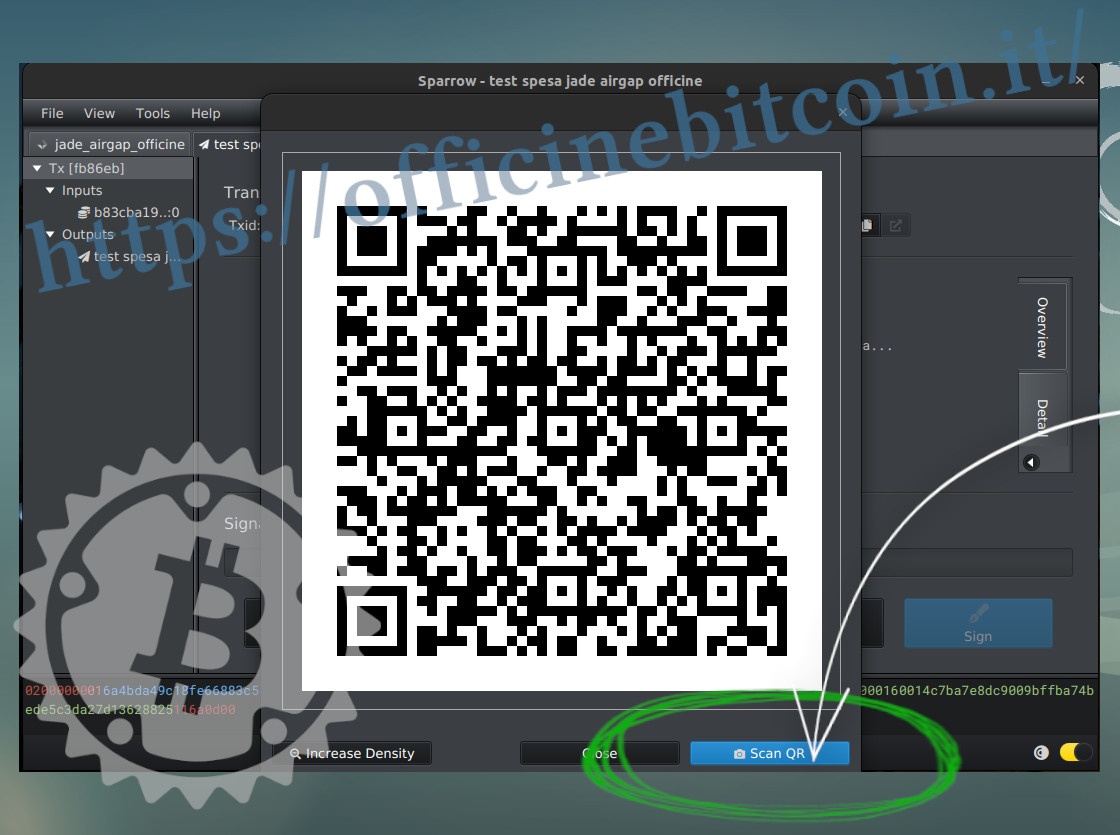
The signatures screen appears. In an airgapped system, the .psbt export happens via QR code, so on Sparrow click Show QR at the bottom left.
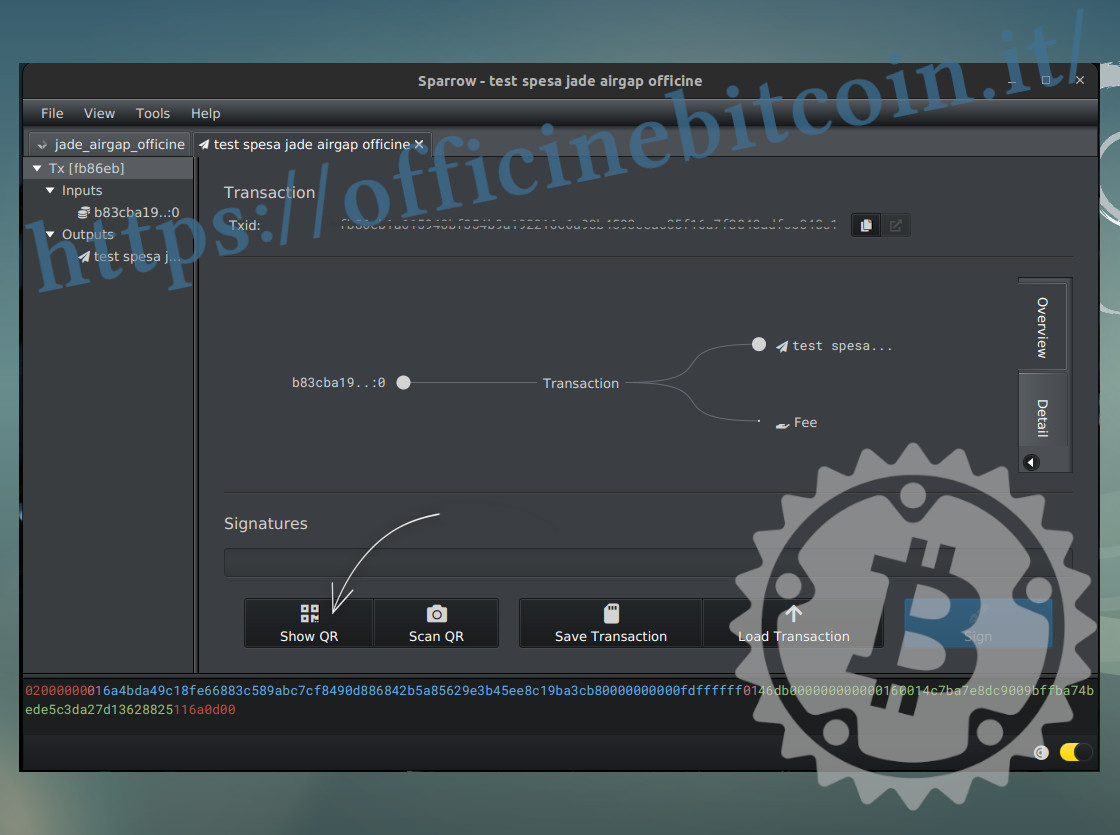
A window appears showing a dynamic QR code, representing the psbt, which will then need to be scanned with Jade’s camera.
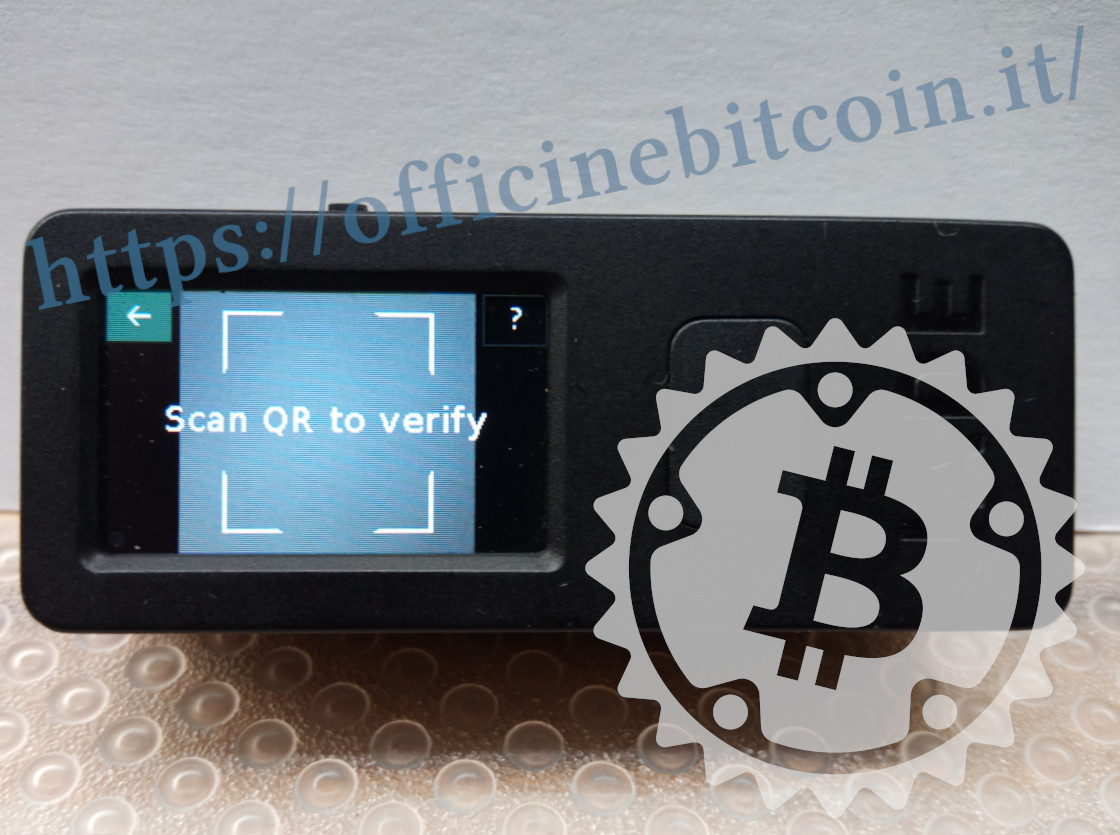
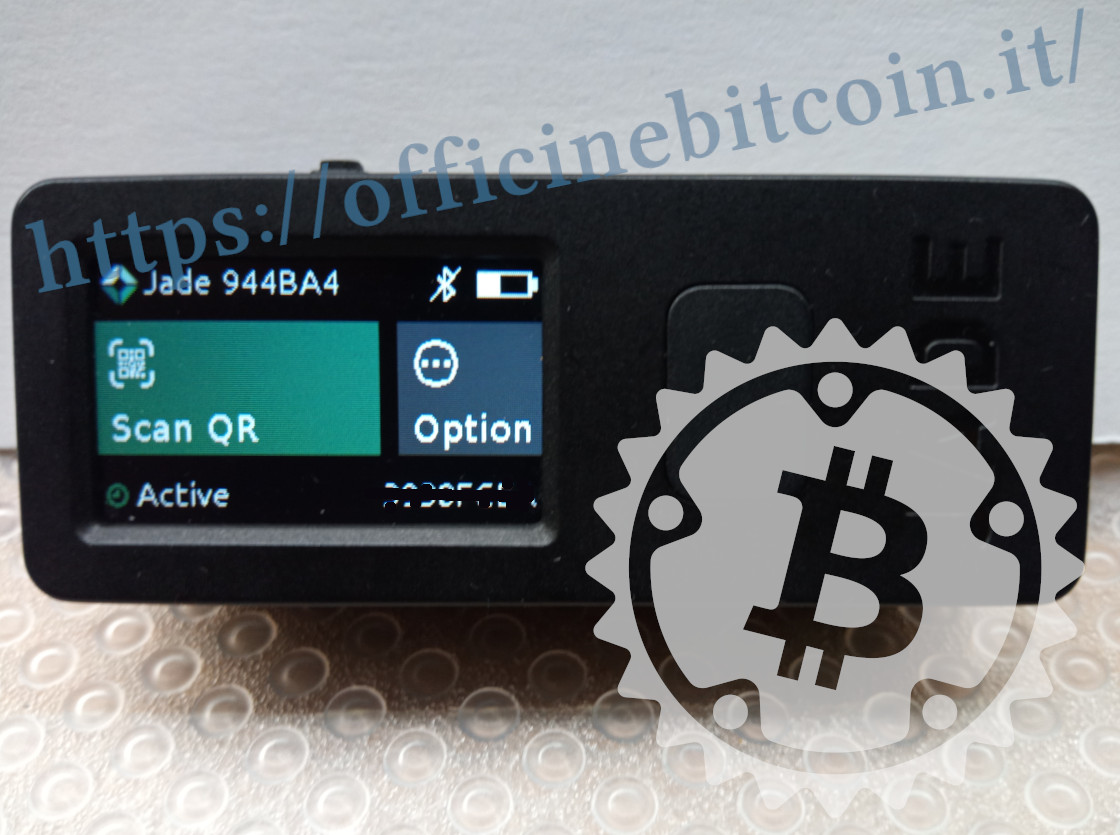
Take Jade and from the main menus select Scan QR
Frame the dynamic QR code that Sparrow is generating with Jade’s camera which has now activated. A blue scroll bar on the hardware wallet’s display indicates the completion percentage of the reading.
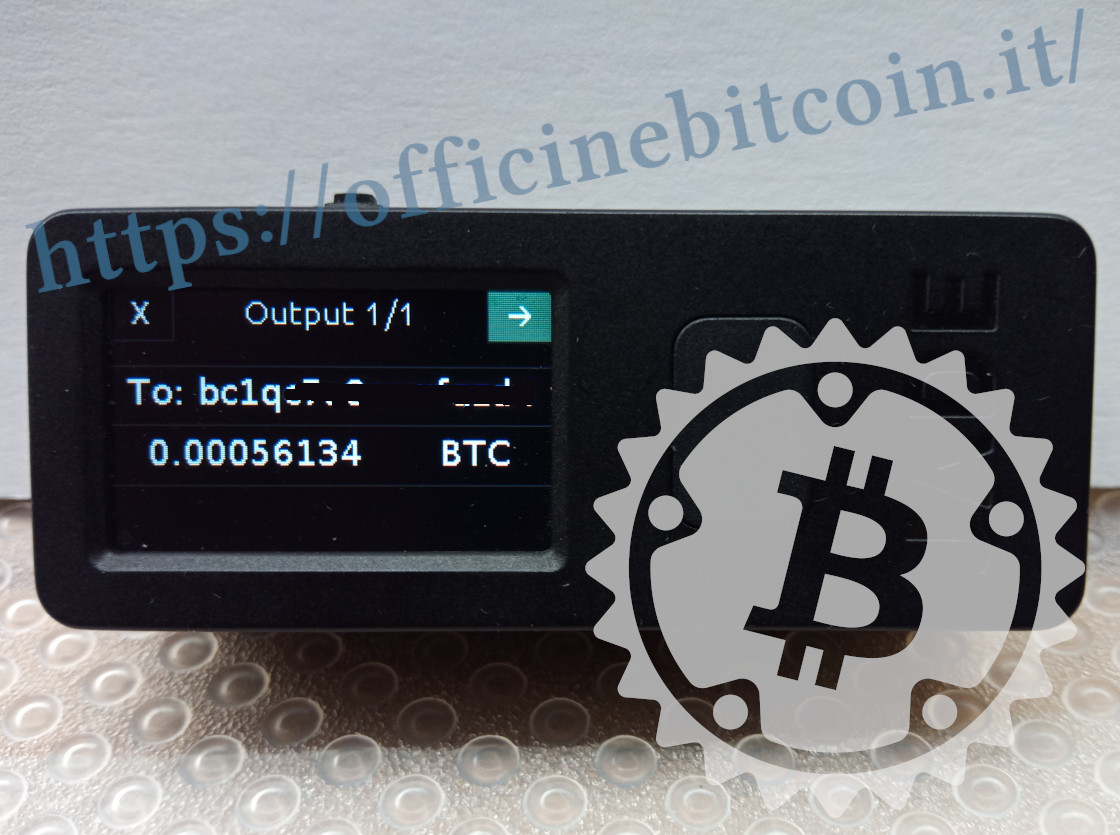
Once the psbt import is finished, Jade shows the transaction details for verification: destination address and amount in a first screen
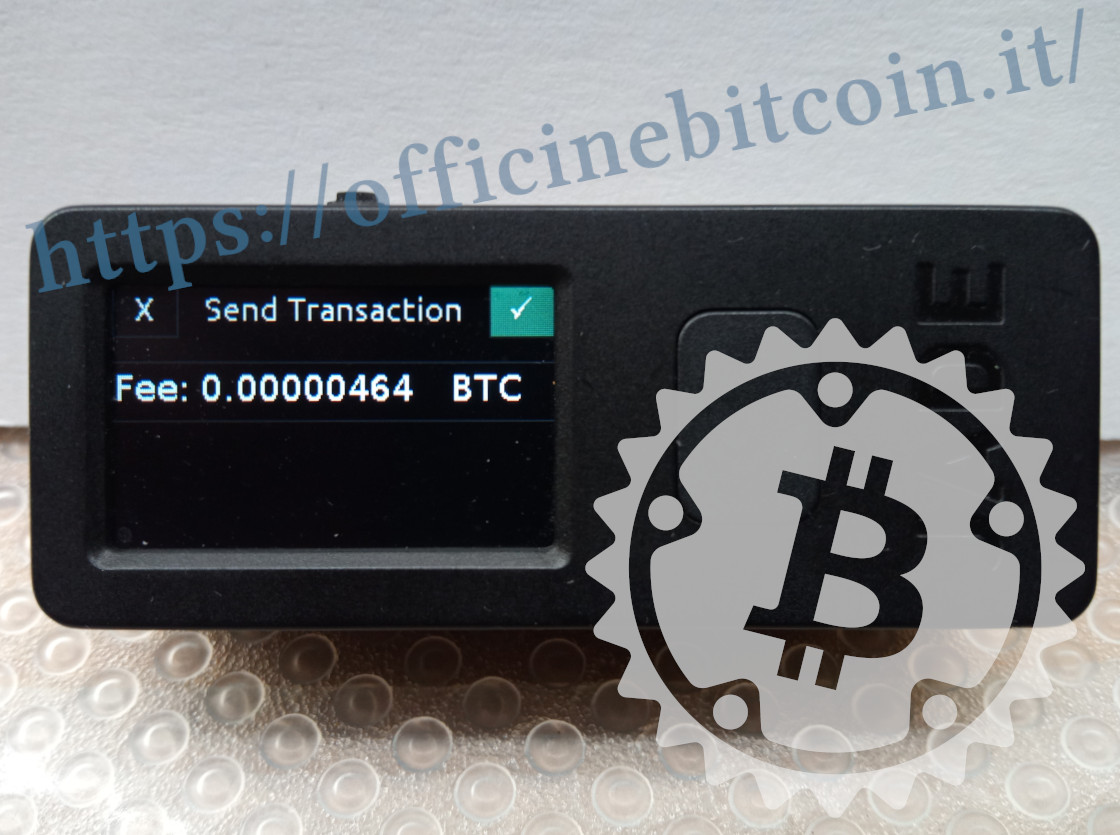
and the fees in a second screen. By confirming in the latter, the signature is applied with Jade.
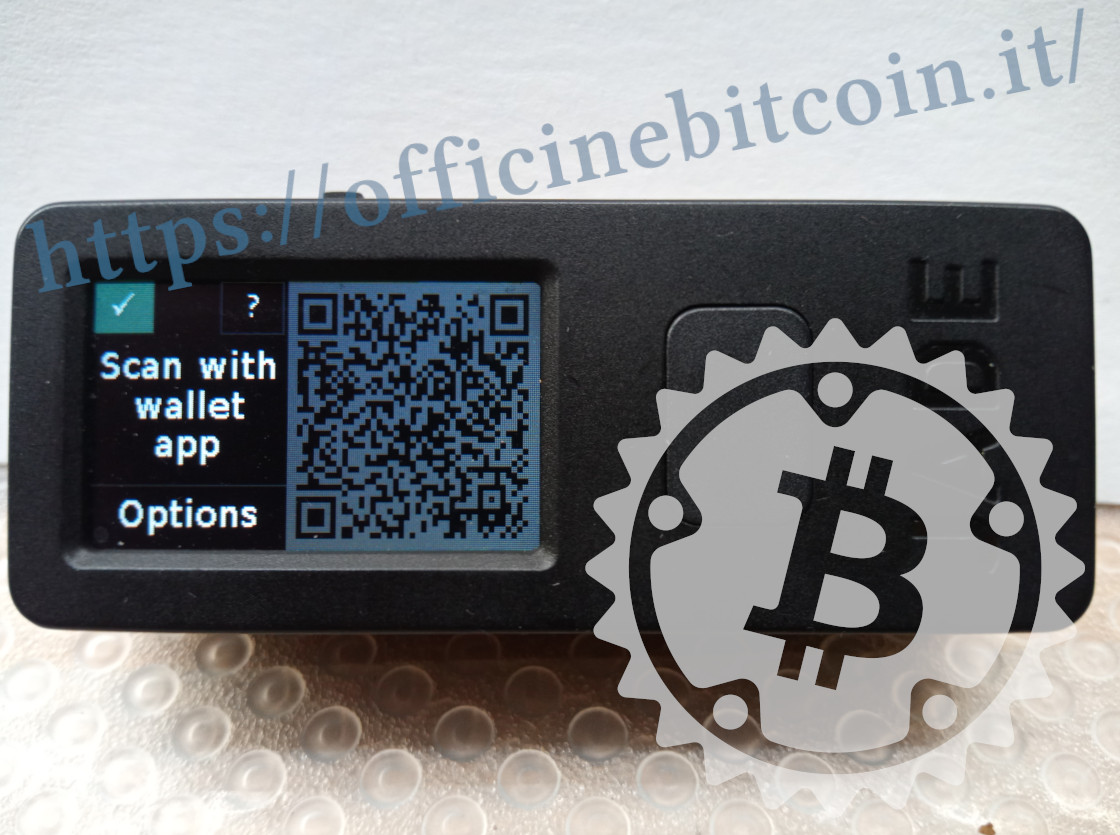
Automatically, Jade’s display shows another dynamic QR code: it’s the signed transaction.
Among the options in this screen, you can increase/lower the density for better communication with the wallet app.
Meanwhile, Sparrow – which we left while displaying a dynamic QR code – must be set to receive the signed transaction to propagate.
You must therefore click Scan QR to reactivate the PC’s webcam.
Position Jade’s display in front of the webcam and let Sparrow import the signed transaction.
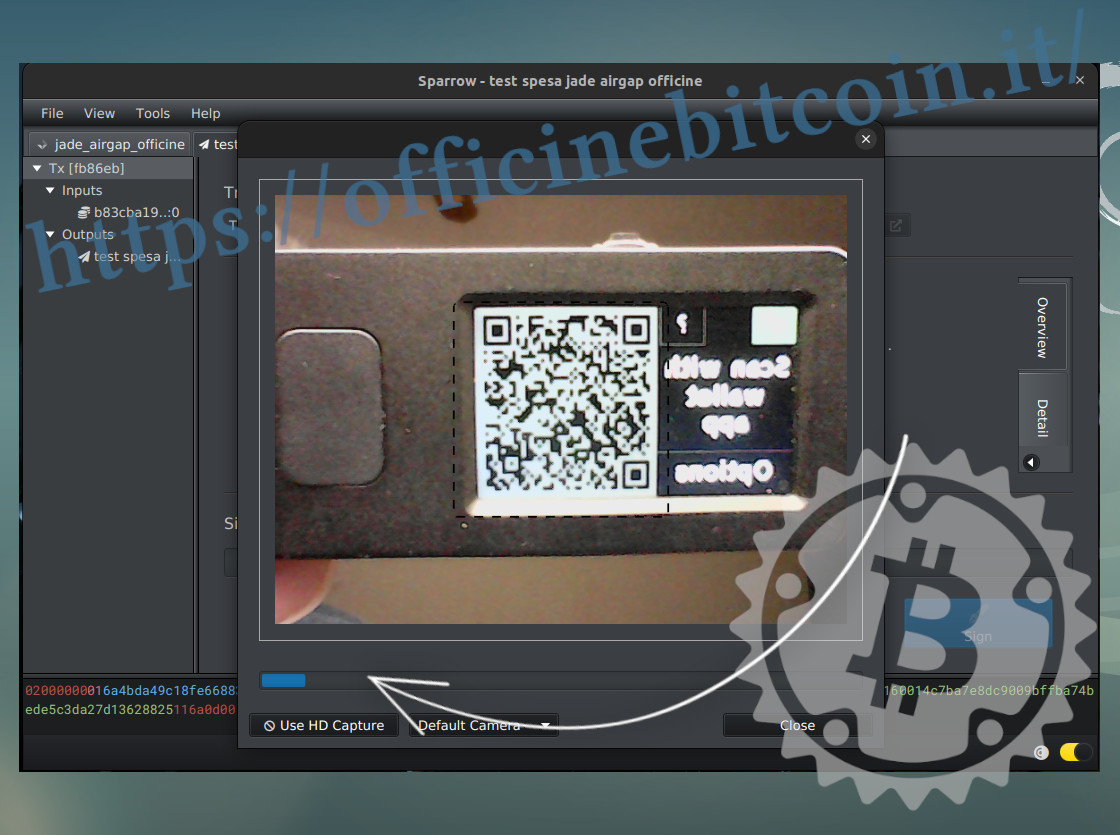
The scroll bar below the image must complete to 100% until import occurs, which Sparrow shows as follows.
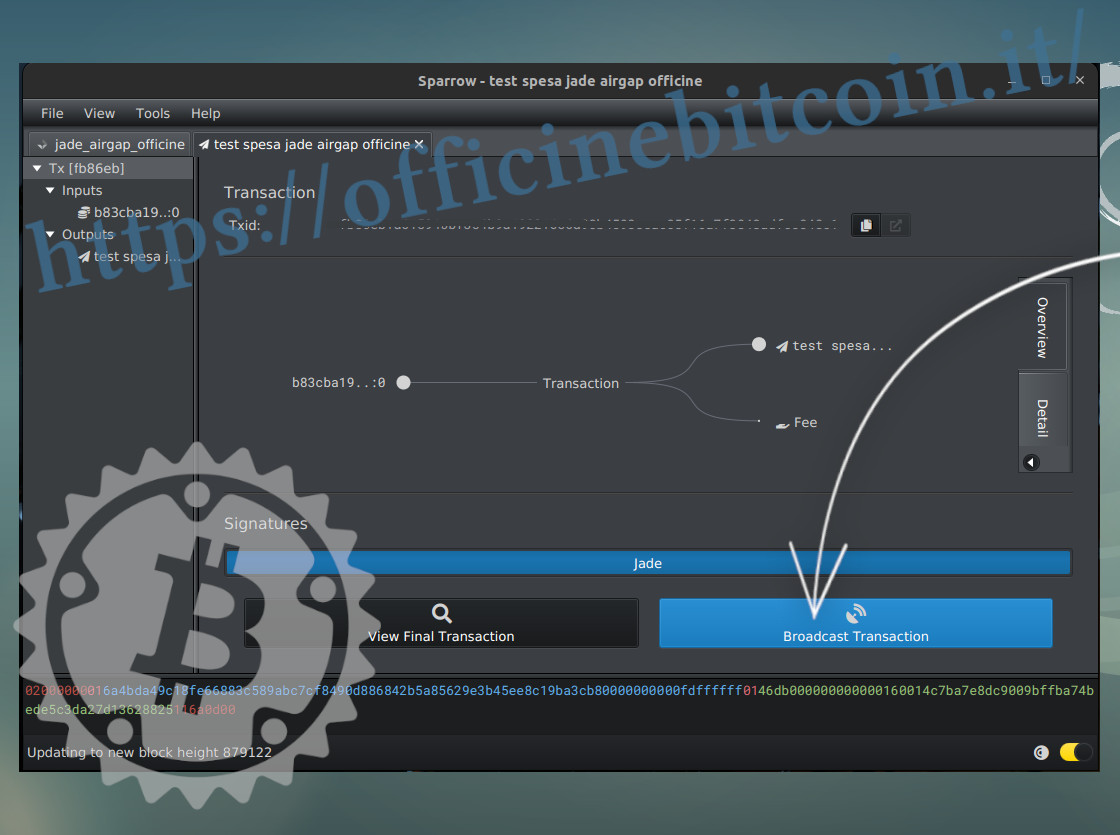
Now the entire transaction is verified again and if it’s good, you can propagate by clicking Broadcast Transaction.
In the Transactions menu, the outgoing transaction appears
Notes
- (1) – If Jade is already initialized, just go to the Options menu → Settings → Factory reset
- (2) – Jade Original has a very small display and – to frame the dynamic QR code in the dashed space that Sparrow shows – it’s necessary to bring the display close to a few centimeters. It might therefore be necessary to equip yourself with a very high-resolution webcam with a suitable focal length, or rely on apps like Iriun, to “transform” a phone into the PC’s camera. Phones, in fact, have superior focusing capability at close range.